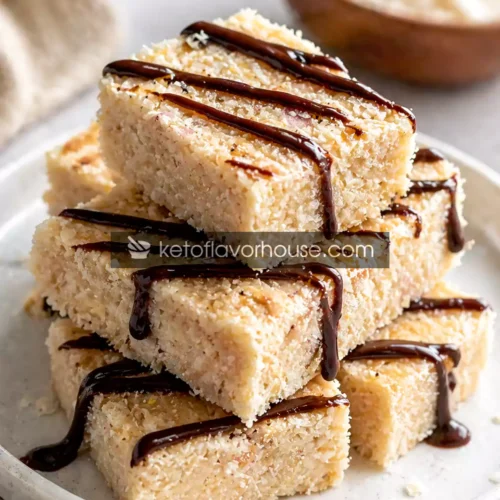
No Bake Keto Coconut Protein Bars Recipe
These No Bake Keto Coconut Protein Bars – High Protein, Low Carb Snack are the perfect combination of convenience, flavor, and nutrition. They’re soft, satisfying, and incredibly easy to make with no baking required. Whether you need a quick snack or a healthy dessert, these bars deliver every time while keeping your keto goals on track.
Ingredients
- 1 cup shredded coconut
- 1/2 cup protein powder
- 1/4 cup almond flour
- 1/4 cup coconut oil
- 1/4 cup nut butter
- 1/4 cup sweetener
- 1 tsp vanilla
- Pinch salt
Instructions
- Line a small rectangular dish with parchment paper, making sure to leave some extra paper hanging over the sides. This overhang will act like handles later, allowing you to lift the bars out cleanly without them breaking or sticking to the dish.
- In a large mixing bowl, add the shredded coconut, protein powder, almond flour, powdered sweetener, and a small pinch of salt. Mix everything thoroughly using a spoon or spatula, ensuring that all dry ingredients are evenly distributed with no clumps, especially from the protein powder.
- Pour in the melted coconut oil, followed by the nut butter and vanilla extract. Begin mixing slowly to avoid splashing, then continue stirring until everything comes together into a thick, sticky dough. Make sure there are no dry patches left—every bit should be well coated and slightly moist.
- Transfer the mixture into your prepared dish and spread it out evenly. Using a spatula or your hands, press the mixture down very firmly. Take your time with this step—pressing tightly is key to helping the bars hold their shape and preventing them from crumbling later.
- Place the dish in the refrigerator and allow it to chill for at least 1 to 2 hours. During this time, the coconut oil will solidify, helping the mixture firm up into sliceable bars.
- Once fully chilled and firm to the touch, remove the dish from the fridge. Use the parchment paper overhang to gently lift the entire slab out and place it onto a cutting board.
- Take a sharp knife and cut the slab into evenly sized bars. For cleaner, more professional-looking edges, wipe the knife with a cloth or paper towel between each cut.
- Serve the bars immediately if you like a slightly softer texture, or keep them stored in an airtight container in the refrigerator for a firmer, more structured bite whenever you’re ready to enjoy them.