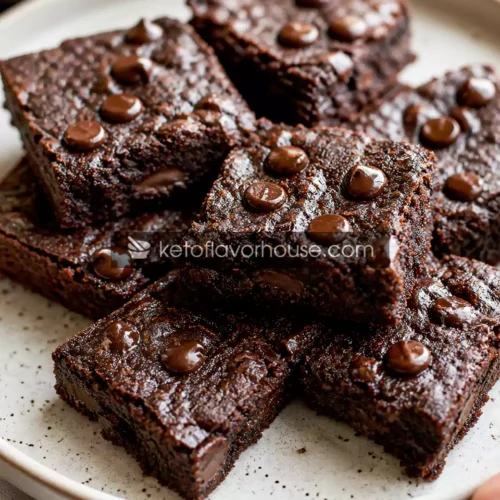
Anti-Inflammatory Brownie Cookie Bars Recipe
These brownie cookie bars are rich, fudgy, and deeply satisfying while supporting a more balanced way of eating. Made with simple, anti-inflammatory ingredients, they deliver comfort without heaviness. Perfect for when you want something sweet that actually makes you feel good. Once you try them, they’ll quickly become a go-to favorite.
Ingredients
- 1 cup almond flour
- 1/3 cup cocoa powder
- 2 eggs
- 1/2 cup almond butter
- 1/4 cup coconut oil
- 1/2 cup sweetener
- 1 tsp vanilla extract
- 1/2 tsp baking powder
- 1/4 cup chocolate chips optional
Instructions
- Preheat your oven to 175°C (350°F) and take a moment to line an 8×8-inch baking pan with parchment paper, leaving a slight overhang on the sides so you can easily lift the bars out later. If your parchment tends to move, lightly grease the pan underneath to hold it in place.
- In a medium mixing bowl, crack the eggs and whisk them gently until slightly frothy. Add the almond butter, making sure it’s smooth and well-stirred beforehand, then pour in the melted coconut oil and vanilla extract. Whisk everything together until the mixture becomes glossy, creamy, and fully combined with no streaks of oil.
- Before adding dry ingredients, ensure your coconut oil isn’t too hot—this prevents scrambling the eggs. The mixture should feel warm but not hot to the touch.
- Add the almond flour, unsweetened cocoa powder, sweetener, and baking powder directly into the wet mixture. Using a spatula, gently fold everything together instead of aggressively mixing. This helps maintain a soft, fudgy texture rather than making the bars dense.
- As you mix, press out any small lumps of almond flour or cocoa powder against the side of the bowl to ensure a smooth, even batter. The final mixture should be thick, rich, and slightly glossy.
- If you’re using chocolate chips, fold them in at this stage. Distribute them evenly throughout the batter so every bite has a bit of melted chocolate goodness.
- Transfer the batter into your prepared baking pan. Use a spatula to spread it evenly into the corners, smoothing the top. If the batter sticks, lightly dampen your spatula or fingers with a little water or oil for a clean finish.
- Tap the pan gently on the counter once or twice to remove any trapped air bubbles and level out the surface.
- Place the pan into the preheated oven and bake for 12–15 minutes. Keep an eye on it around the 12-minute mark—the edges should look set, but the center should still appear slightly soft and underdone. This is key for that brownie-like fudgy texture.
- Avoid overbaking. The bars will continue to firm up as they cool, so pulling them out at the right time ensures they stay moist and tender instead of dry.
- Remove the pan from the oven and let it rest at room temperature. Do not attempt to cut the bars while they’re hot, as they will be too soft and may fall apart.
- Allow the bars to cool completely in the pan for at least 30–45 minutes. This step helps them set properly and makes slicing much easier.
- Once fully cooled, lift the bars out using the parchment paper overhang and place them on a flat surface. Use a sharp knife to cut into even squares or rectangles, wiping the knife between cuts for clean edges.
- For the best texture and flavor, let the bars sit for an additional 10–15 minutes after slicing, or chill them slightly if you prefer a firmer bite.
- Serve as they are, or slightly warm for a softer, gooier center.