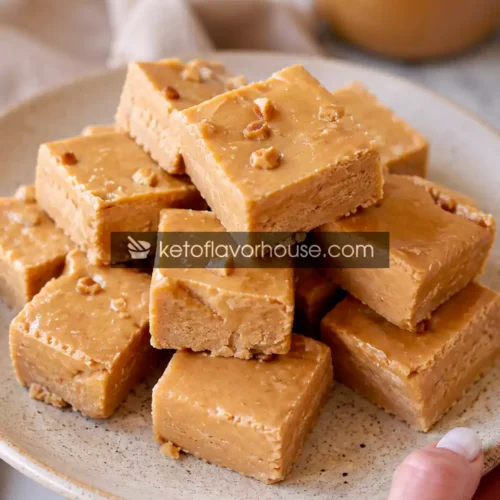
Bariatric Peanut Butter Fudge Recipe
This Bariatric Peanut Butter Fudge Recipe (High-Protein & Sugar-Free) is creamy, rich, satisfying, and perfect for anyone craving a healthier dessert option. Made with protein-packed ingredients and no added sugar, it fits beautifully into a bariatric-friendly lifestyle while still tasting indulgent. The smooth peanut butter texture, easy prep, and freezer-friendly convenience make it a recipe worth making again and again. Whether you need a quick sweet bite or a meal prep dessert, these little fudge squares deliver comfort without the guilt.
Ingredients
- 1 cup natural peanut butter
- 1/2 cup vanilla protein powder
- 1/4 cup powdered erythritol
- 1/4 cup Greek yogurt
- 2 tablespoons coconut flour
- 1 teaspoon vanilla extract
- Pinch of sea salt
Instructions
- Line a small loaf pan, meal prep container, or square dish with parchment paper, leaving a little extra parchment hanging over the sides. This makes it much easier to lift the fudge out later without sticking or breaking apart. If you skip the parchment paper, the peanut butter mixture can cling tightly to the pan and make slicing messy.
- Add the peanut butter, Greek yogurt, vanilla extract, and powdered sweetener to a medium mixing bowl. Stir everything together slowly at first, then continue mixing until the texture becomes completely smooth, creamy, and glossy. Make sure there are no streaks of yogurt or pockets of sweetener left behind. If your peanut butter is thick or slightly firm, warming it for a few seconds can help everything blend more easily.
- Gradually add the protein powder a little at a time while stirring continuously. Mixing slowly helps prevent clumps and keeps the texture silky instead of chalky. As the protein powder blends in, the mixture will start becoming thicker and more fudge-like. Don’t worry if it seems dense — that’s exactly what you want for rich, creamy fudge.
- Sprinkle in the coconut flour and a pinch of salt, then continue mixing until the mixture becomes thick, smooth, and fully combined. The coconut flour helps absorb extra moisture and gives the fudge its perfect sliceable texture. If the mixture feels too dry, add a tiny spoonful of Greek yogurt. If it feels too soft, let it sit for a minute so the coconut flour can absorb more moisture naturally.
- Transfer the mixture into the prepared pan and use a spatula or the back of a spoon to spread it evenly into all corners. Smooth the top carefully so the fudge sets evenly and looks neat when sliced. For extra flavor and presentation, you can lightly sprinkle flaky salt or a few crushed peanuts over the top before chilling.
- Place the pan into the refrigerator for about 2 to 3 hours until the fudge feels firm and chilled all the way through. If you’re short on time, place it in the freezer for about 45 minutes instead. The colder the fudge gets, the cleaner and easier it will be to cut into perfect little squares.
- Once fully chilled, lift the fudge out using the parchment paper and place it onto a cutting board. Use a sharp knife to slice it into small squares or bite-sized pieces. Because the fudge is rich and high in protein, smaller portions are usually the most satisfying. Serve chilled straight from the fridge for the creamiest texture and best flavor.