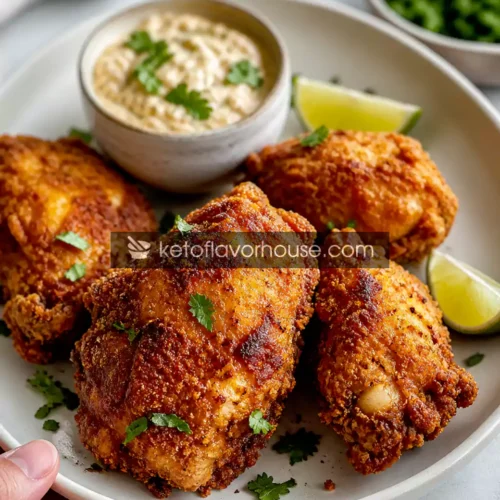
Crispy Golden Anti-Inflammatory Fried Chicken Recipe
This crispy anti-inflammatory fried chicken delivers everything you love about comfort food — crunch, flavor, and satisfaction — without the heaviness. It’s made with clean, nourishing ingredients that support balanced eating while still feeling indulgent. Perfect for anyone looking to enjoy fried chicken in a more mindful, energizing way.
Ingredients
- 500 g chicken thighs
- 1 cup almond flour
- 2 eggs
- 1 tsp garlic powder
- ½ tsp turmeric
- 1 tsp paprika
- Salt & pepper
- 3 –4 tbsp olive oil
Instructions
- Start by placing your chicken pieces on a clean surface and gently pat them completely dry using paper towels. Take your time here—removing excess moisture is key to getting that crispy coating later. If the chicken is even slightly wet, the coating may slide off or turn soggy instead of crunchy.
- In a medium bowl, crack the eggs and add a pinch of salt and black pepper. Whisk thoroughly until the mixture becomes smooth and slightly frothy. Make sure the yolks and whites are fully combined—this helps the coating stick evenly to every part of the chicken.
- In a separate wide bowl, add the almond flour, turmeric, paprika, garlic powder, salt, and pepper. Mix everything well using a fork or your fingers to evenly distribute the spices. This step is important because it ensures every bite has balanced flavor and that beautiful golden color.
- Take one piece of chicken at a time and dip it into the egg mixture. Turn it gently to coat all sides completely, letting any excess drip off. This wet layer acts as the “glue” that holds your crispy coating in place.
- Immediately transfer the egg-coated chicken into the almond flour mixture. Press it down gently and flip it around until every surface is fully coated. Don’t rush—pressing slightly helps create a thicker, crunchier crust. Place the coated chicken on a plate and repeat with the remaining pieces.
- Heat olive oil in a large skillet over medium heat. Give it a minute or two to warm up properly, but don’t let it start smoking. If the oil is too hot, the coating will burn before the inside cooks; too cool, and the chicken will absorb excess oil.
- Carefully place the coated chicken pieces into the pan, leaving space between each one. Avoid overcrowding, as this can trap steam and prevent crispiness. Let the chicken cook undisturbed for about 5–7 minutes—this helps form a firm, golden crust.
- Once the underside is beautifully golden, use tongs to gently flip each piece. Be careful not to scrape or tear the coating. Cook the second side for another 5–7 minutes, adjusting the heat slightly if needed to avoid burning while ensuring the chicken cooks through.
- When the chicken is fully cooked (juices run clear and internal temperature is safe), remove it from the pan and place it on a wire rack instead of a plate. This allows air to circulate underneath, keeping the coating crisp rather than soggy.
- Let the chicken rest for a few minutes before serving. This short resting time helps the juices redistribute inside the meat, making every bite more tender, flavorful, and satisfying.