This post may contains Amazon affiliate and other affiliate links. If you make a purchase through these links, I may earn a small commission at no extra cost to you. Your support helps me continue to provide quality content. I only recommend products I personally trust and believe will add value to your experience. For more details, please visit my Privacy Policy.
Introduction
There was a time when I loved fried chicken… but my body didn’t love it back.
You know that feeling — you enjoy something crispy, salty, comforting… and then a few hours later, you’re hit with bloating, sluggishness, and that heavy, inflamed feeling that makes you regret it just a little. That used to be me. Especially on weekends, when cravings hit hardest and I just wanted something deeply satisfying.
That’s exactly why I started experimenting with a cleaner version of comfort food — something that still delivers that golden crunch, but supports how I feel afterward.
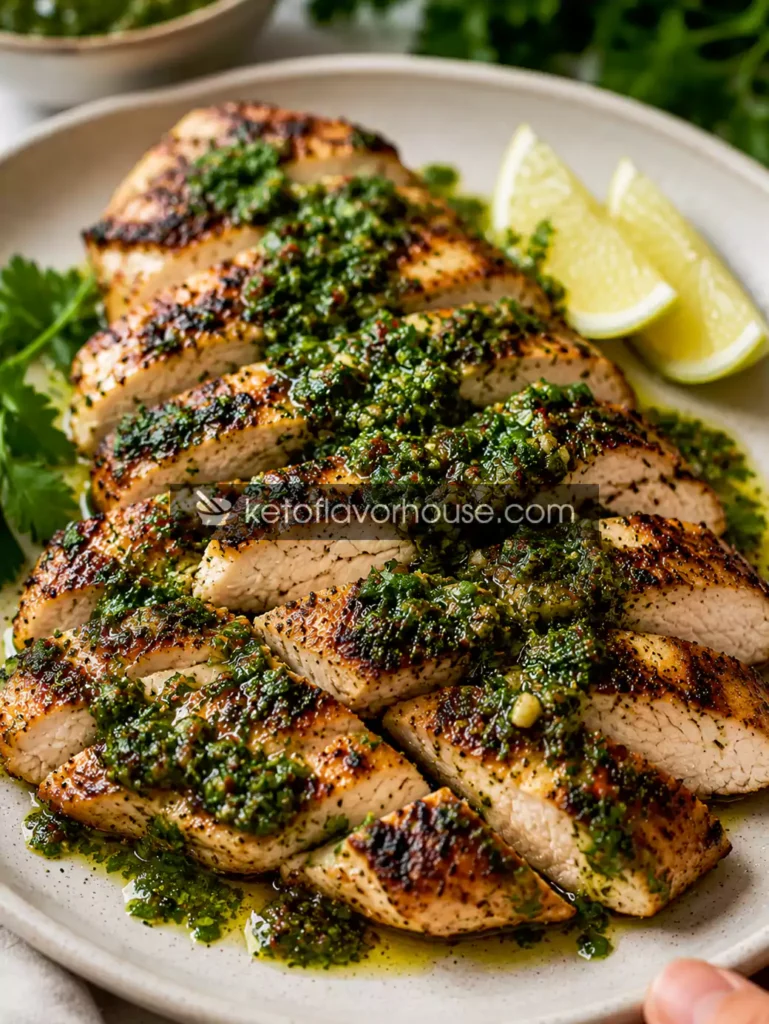
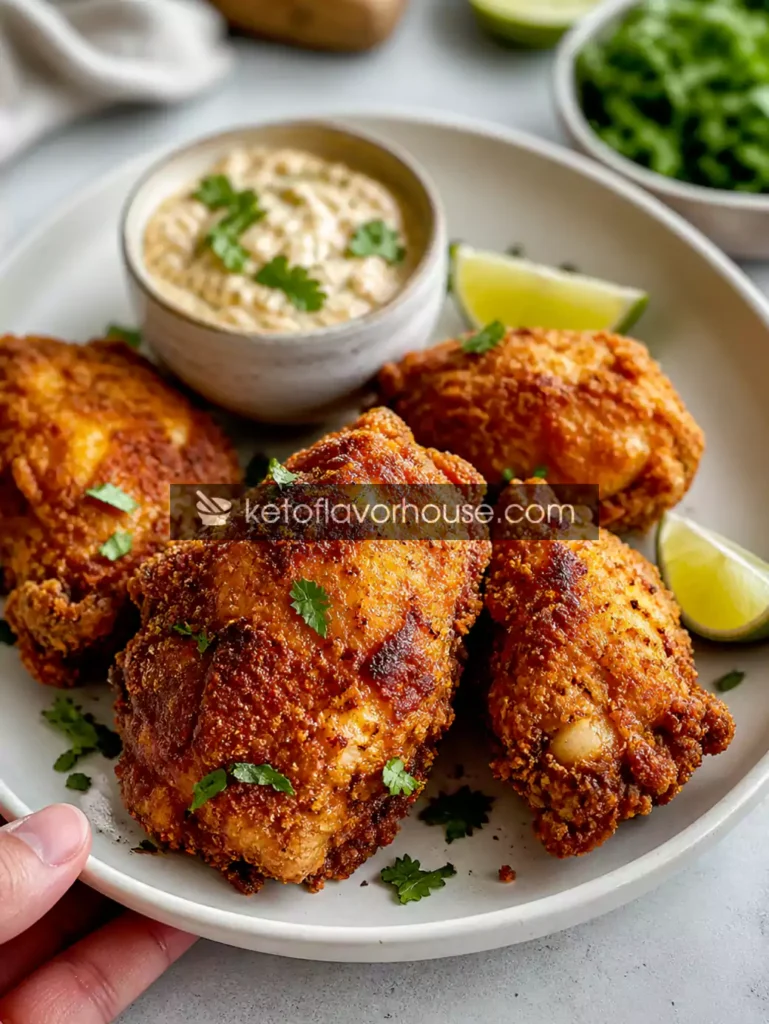
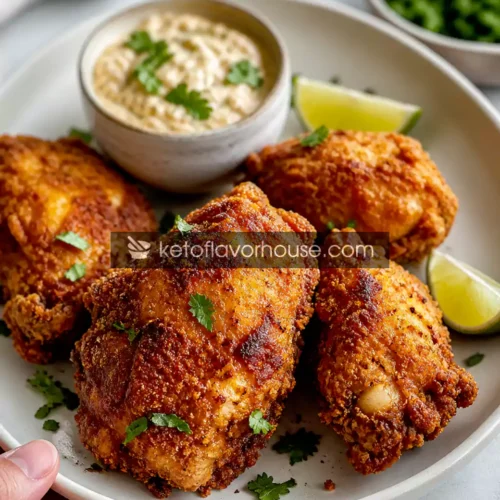
This Crispy Golden Anti-Inflammatory Fried Chicken (Keto, Gluten-Free & High-Protein) became one of those recipes I keep coming back to. It’s everything you want from fried chicken — crispy coating, juicy inside, bold flavor — but made with ingredients that align with anti-inflammatory eating.
Instead of leaving you feeling heavy, this version feels nourishing, balanced, and surprisingly energizing. It’s perfect if you’re trying to reduce inflammation, follow a keto lifestyle, or simply eat in a way that supports better digestion and steady energy.
Whether you’re cooking for yourself, your family, or prepping meals for the week — this recipe hits that sweet spot between comfort food and mindful eating.
💚 Why You’ll Love This Recipe
- 🥬 Made with anti-inflammatory ingredients like olive oil, turmeric, and garlic
- ⚡ Supports digestion and steady energy without the post-meal crash
- 🍽️ Crispy, juicy, and deeply satisfying — without heavy carbs
- 👩🍳 Simple ingredients and beginner-friendly steps
- 🧡 Comfort food flavor with a clean, nourishing twist
🧠 My Personal Experience
The first time I made this, I wasn’t expecting much — I thought it would be “good for a healthy version.”
But honestly? It surprised me.
The crunch was real. The flavor was bold. And the biggest difference came after eating it.
No bloating. No heaviness. No need to lie down afterward.
Instead, I felt satisfied — properly full, not stuffed. My energy stayed stable, and I didn’t get that usual “fried food fatigue.” That’s when I knew this wasn’t just another recipe… it was something I could actually rely on.
Now, it’s one of those meals I turn to when I want comfort without compromise.
🧰 Required Equipment
Mixing Bowls
You’ll need at least two bowls — one for the marinade and one for the coating. This helps keep the process clean and organized.
Whisk or Fork
Used to combine eggs and spices smoothly. Proper mixing ensures even flavor distribution.
Frying Pan or Skillet
A heavy-bottomed pan helps maintain consistent heat, which is key for achieving that golden crust without burning.
Tongs
Essential for safely flipping the chicken without breaking the coating.
Wire Rack (Optional but Recommended)
Helps keep the chicken crispy after cooking by preventing steam buildup underneath.
🥬 Ingredients & Substitutions
Chicken Thighs (500g, boneless or bone-in)
Juicy and flavorful, thighs stay tender during cooking. Rich in protein, they support muscle maintenance and satiety.
Substitute: Chicken breast (leaner, slightly less juicy)
Almond Flour (1 cup)
Creates a crispy coating while keeping carbs low. Almonds also provide healthy fats and vitamin E.
Substitute: Coconut flour (use less, texture will be denser)
Eggs (2 large)
Act as a binder to help the coating stick. Also add protein and structure.
Substitute: Flax eggs (for egg-free option)
Garlic Powder (1 tsp)
Adds depth of flavor and contains compounds that support inflammation balance.
Turmeric (½ tsp)
A powerful anti-inflammatory spice with a warm, earthy flavor.
Paprika (1 tsp)
Adds color and mild smokiness. Rich in antioxidants.
Salt (to taste)
Enhances all flavors.
Black Pepper (½ tsp)
Supports digestion and pairs well with turmeric.
Olive Oil (for frying, 3–4 tbsp)
A heart-healthy fat rich in polyphenols that support inflammation balance.
Substitute: Avocado oil
👩🍳 How to Make Crispy Golden Anti-Inflammatory Fried Chicken
Step 1: Prepare the Chicken
Pat the chicken dry using paper towels. This helps the coating stick better and prevents excess moisture.
Step 2: Create the Egg Mixture
In a bowl, whisk eggs with a pinch of salt and pepper. This ensures even seasoning from the base layer.
Step 3: Prepare the Coating
In another bowl, combine almond flour, turmeric, garlic powder, paprika, salt, and pepper. Mix thoroughly so the spices are evenly distributed.
Step 4: Coat the Chicken
Dip each piece into the egg mixture, then press firmly into the almond flour coating. Make sure it’s evenly covered.
Step 5: Heat the Oil
Heat olive oil on medium heat. Avoid overheating — too much heat can degrade the oil and burn the coating.
Step 6: Cook the Chicken
Place chicken into the pan and cook for 5–7 minutes per side. Flip gently using tongs. Cook until golden brown and fully done inside.
Step 7: Rest Before Serving
Transfer to a wire rack and let it rest for a few minutes. This keeps the coating crisp and allows juices to settle.
⚠️ Common Mistakes to Avoid
- Overcrowding the pan → leads to soggy coating
- Using high heat → burns outside before inside cooks
- Skipping drying step → coating won’t stick properly
- Using refined vegetable oils → less stable for frying
- Uneven coating → results in patchy texture
Fix: Cook in batches, maintain medium heat, and press coating firmly.
🔥 Pro Tips for Best Results
- Add a pinch of ginger powder for extra anti-inflammatory support
- Mix a little parmesan cheese into coating for deeper flavor (optional)
- Let coated chicken sit for 5 minutes before frying — helps coating adhere
- Use a thermometer if possible (internal temp ~75°C)
- Finish with a squeeze of lemon for brightness
🧬 Anti-Inflammatory Benefits of Chicken
Chicken is an excellent source of high-quality protein, which supports muscle repair, metabolism, and satiety. When prepared cleanly (like in this recipe), it fits well into an anti-inflammatory lifestyle.
Combined with ingredients like turmeric, garlic, and olive oil, it becomes part of a balanced, nourishing meal that supports overall wellness.
🌿 Variations You Can Try
- Air Fryer Version: Cook at 180°C for 18–20 minutes
- Dairy-Free: Already dairy-free
- Spicy Version: Add cayenne pepper
- Herb Version: Add oregano + thyme
- Extra Protein: Serve with Greek yogurt dip
🍽️ Tips for This Recipe
- Always preheat oil properly
- Don’t rush flipping — let crust form
- Keep seasoning balanced
- Use fresh spices for best flavor
➕ Optional Additions
- Chia seeds (in coating for texture)
- Flaxseed meal (extra fiber)
- Fresh herbs (parsley, coriander)
- Yogurt garlic dip (cooling contrast)
🍴 Serving Ideas
- With cauliflower mash
- Over a fresh salad bowl
- With roasted vegetables
- As a high-protein meal prep option
- Keto wraps or lettuce wraps
🧊 Storage Recommendations
Fridge: 3–4 days in airtight container
Freezer: Up to 2 months
Reheat: Oven or air fryer (avoid microwave for crispiness)
❓ Frequently Asked Questions
1. Can I bake instead of fry?
Yes, bake at 200°C for 25–30 minutes.
2. Is it truly crispy without breadcrumbs?
Yes — almond flour creates a great crunch.
3. Can I use chicken breast?
Yes, but be careful not to overcook.
4. Is this meal prep friendly?
Absolutely — stores and reheats well.
5. Can I skip turmeric?
You can, but it adds both color and anti-inflammatory benefits.
6. What oil is best?
Olive oil or avocado oil.
🧮 Nutritional Breakdown (Per Serving)
Calories: 420
Protein: 32g
Fat: 28g
Total Carbs: 6g
Net Carbs: 4g
📌 Recipe Snapshot
Prep Time: 15 minutes
Cook Time: 20 minutes
Total Time: 35 minutes
Course: Main Course
Cuisine: Healthy / Keto
Servings: 4
Calories: 420
Crispy Golden Anti-Inflammatory Fried Chicken Recipe
Ingredients
- 500 g chicken thighs
- 1 cup almond flour
- 2 eggs
- 1 tsp garlic powder
- ½ tsp turmeric
- 1 tsp paprika
- Salt & pepper
- 3 –4 tbsp olive oil
Instructions
- Start by placing your chicken pieces on a clean surface and gently pat them completely dry using paper towels. Take your time here—removing excess moisture is key to getting that crispy coating later. If the chicken is even slightly wet, the coating may slide off or turn soggy instead of crunchy.
- In a medium bowl, crack the eggs and add a pinch of salt and black pepper. Whisk thoroughly until the mixture becomes smooth and slightly frothy. Make sure the yolks and whites are fully combined—this helps the coating stick evenly to every part of the chicken.
- In a separate wide bowl, add the almond flour, turmeric, paprika, garlic powder, salt, and pepper. Mix everything well using a fork or your fingers to evenly distribute the spices. This step is important because it ensures every bite has balanced flavor and that beautiful golden color.
- Take one piece of chicken at a time and dip it into the egg mixture. Turn it gently to coat all sides completely, letting any excess drip off. This wet layer acts as the “glue” that holds your crispy coating in place.
- Immediately transfer the egg-coated chicken into the almond flour mixture. Press it down gently and flip it around until every surface is fully coated. Don’t rush—pressing slightly helps create a thicker, crunchier crust. Place the coated chicken on a plate and repeat with the remaining pieces.
- Heat olive oil in a large skillet over medium heat. Give it a minute or two to warm up properly, but don’t let it start smoking. If the oil is too hot, the coating will burn before the inside cooks; too cool, and the chicken will absorb excess oil.
- Carefully place the coated chicken pieces into the pan, leaving space between each one. Avoid overcrowding, as this can trap steam and prevent crispiness. Let the chicken cook undisturbed for about 5–7 minutes—this helps form a firm, golden crust.
- Once the underside is beautifully golden, use tongs to gently flip each piece. Be careful not to scrape or tear the coating. Cook the second side for another 5–7 minutes, adjusting the heat slightly if needed to avoid burning while ensuring the chicken cooks through.
- When the chicken is fully cooked (juices run clear and internal temperature is safe), remove it from the pan and place it on a wire rack instead of a plate. This allows air to circulate underneath, keeping the coating crisp rather than soggy.
- Let the chicken rest for a few minutes before serving. This short resting time helps the juices redistribute inside the meat, making every bite more tender, flavorful, and satisfying.