This post may contains Amazon affiliate and other affiliate links. If you make a purchase through these links, I may earn a small commission at no extra cost to you. Your support helps me continue to provide quality content. I only recommend products I personally trust and believe will add value to your experience. For more details, please visit my Privacy Policy.
Introduction
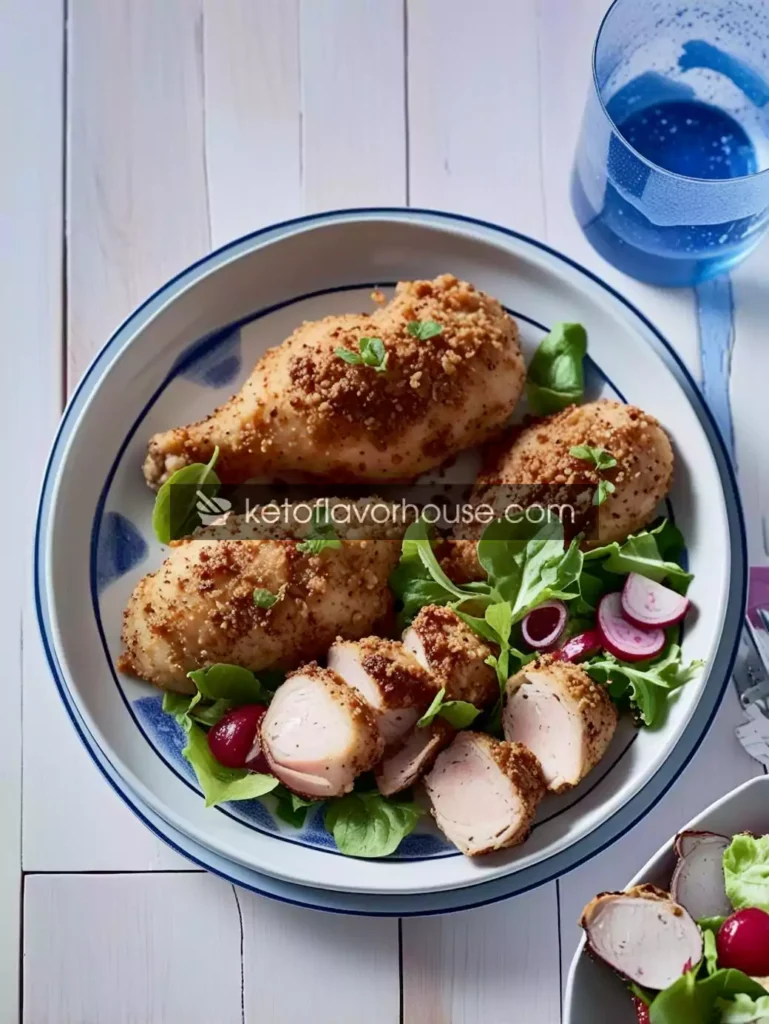
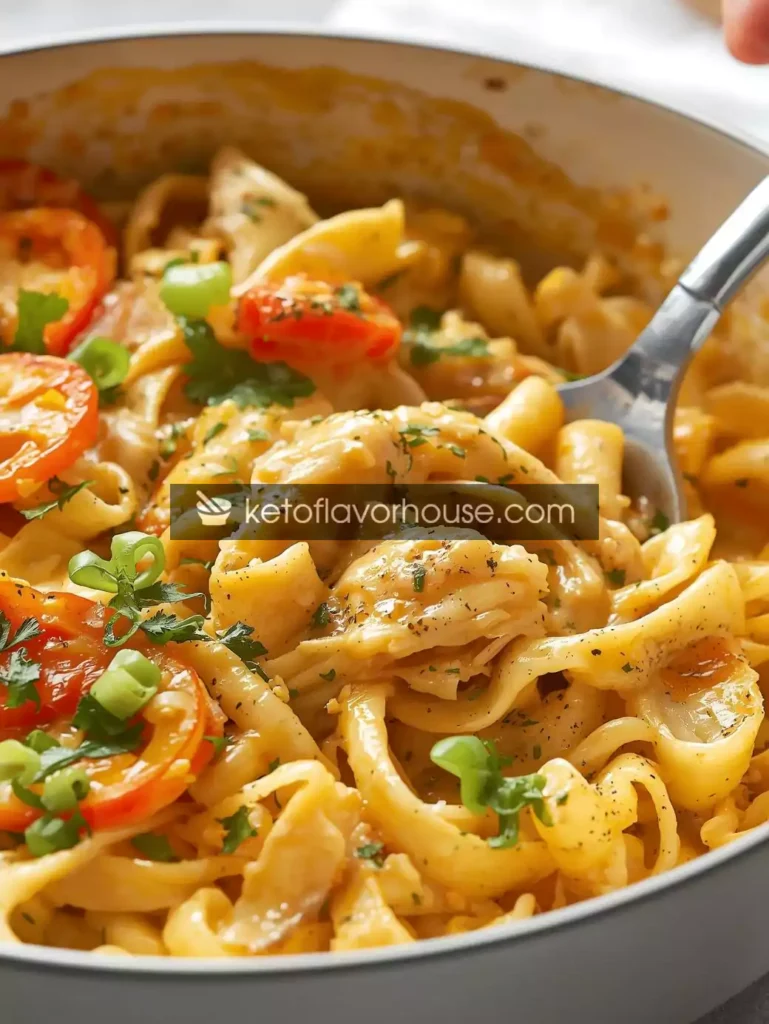
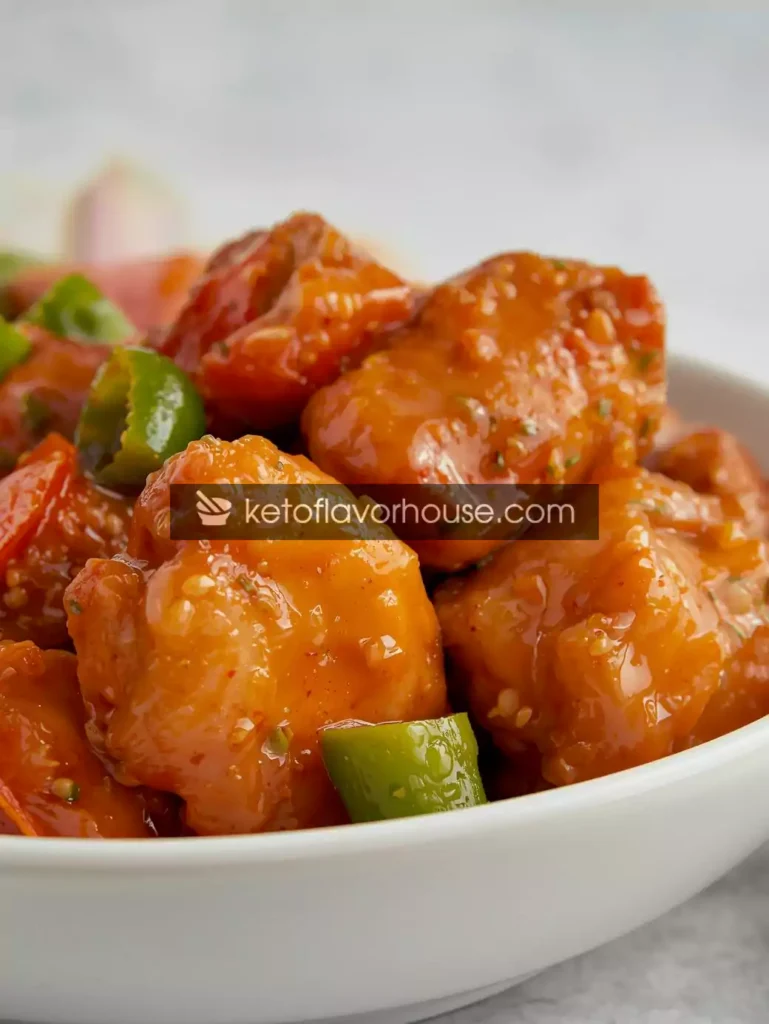
I still remember the day I craved takeout after surgery — the bright, glossy sauce, the crunchy veg, the tang that wakes up your whole mouth. I wanted those flavors without the batter, sugar, and heaviness that follow. That’s when I created this Bariatric Sweet and Sour Chicken: a light, tangy, high-protein version of the classic that fits easily into a bariatric lifestyle. It gives you the nostalgia of takeout — the glossy sauce, the pop of bell peppers — while remaining gentle on a smaller stomach, low in carbs, and kind to your goals.
This recipe is built to be forgiving and practical. It’s perfect for anyone in post-op maintenance, those seeking a lower-carb comfort meal, and families who want a healthier takeout-style dinner. You’ll get lean, tender chicken seared for texture, a bright no-refined-sugar sauce, and crisp vegetables — all in balanced portions that respect bariatric nutrition.
Why You’ll Love This Recipe
- 🍗 High-protein: Keeps you full with lean chicken (supports muscle retention).
- 🍋 Bright, tangy flavor: All the sweet-and-sour satisfaction without refined sugars.
- 🥦 Low-carb & bariatric-friendly: Uses cauliflower rice or shirataki as a base.
- ⏱ Quick & meal-prep friendly: Ready in ~30 minutes; makes excellent leftovers.
- 👨👩👧👦 Family-approved: Non-diet eaters love it — everyone gets a delicious plate.
My Personal Experience
The first time I remade sweet and sour for a bariatric meal plan, I was nervous. Would the sauce be bright enough without sugar? Could the chicken feel “real” without deep frying? The result surprised me. The sauce — built from no-sugar ketchup, vinegar, and a touch of natural sweetener — glistened like the real thing. Pan-seared chicken stayed juicy, and the peppers gave the crunch I missed. That evening felt like reclaiming a small pleasure without guilt, and I’ve made it dozens of times since for busy weeknights and meal prep.
Required Equipment
Nonstick Skillet or Wok
A nonstick skillet or wok lets you get a quick sear on the chicken with minimal oil and keeps vegetables crisp. It’s essential for texture — use a heavy-bottomed pan if you don’t have a wok.
Small Saucepan or Sauce Pot
To whisk and simmer the sweet-and-sour sauce separately, ensuring it’s smooth and glossy before tossing with the chicken.
Cutting Board & Sharp Knife
Evenly sized pieces cook consistently and are easier to chew — important for smaller bariatric portions.
Measuring Spoons & Cups
For accurate seasoning; bariatric meal plans benefit from consistent macros and sodium control.
Spatula & Tongs
For gentle flipping and tossing so the chicken and bell peppers keep their integrity.
Optional: Immersion Blender
If you prefer the sauce completely smooth, an immersion blender will finish it quickly.
Ingredients & Substitutions (Serves 4; per-roll/portion notes included)
For each ingredient below I add why it matters for bariatric eating and a substitution option.
Chicken & Veg
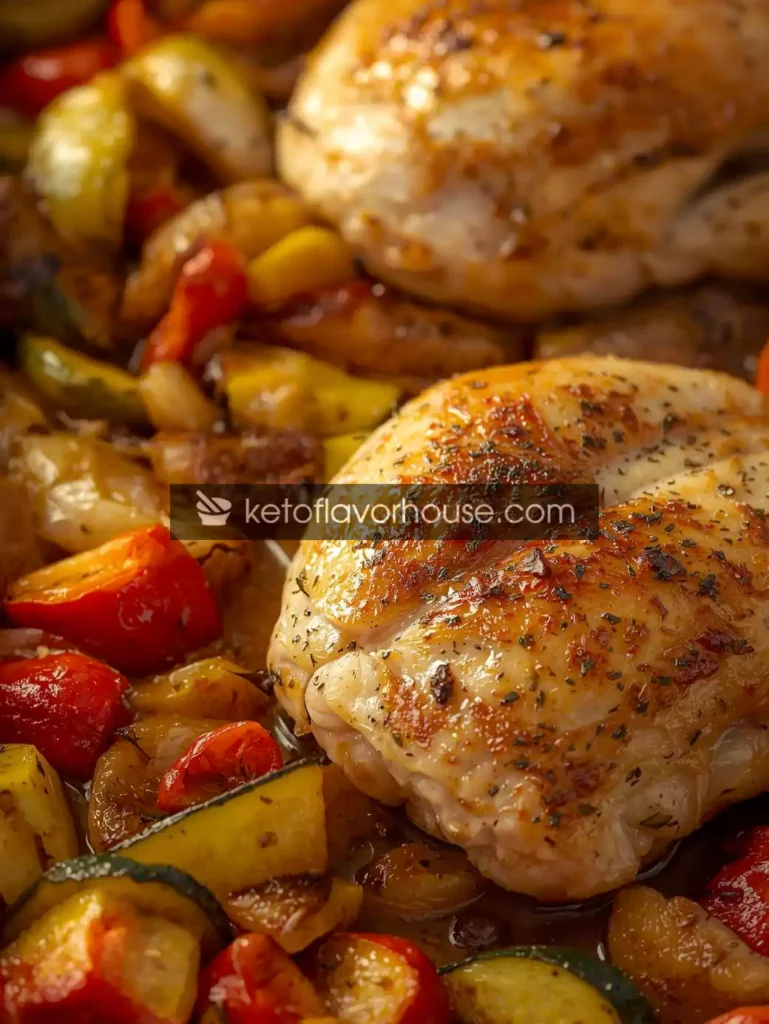
- 1 lb (450 g) boneless, skinless chicken breast, cut into 1-inch pieces — Why: lean, high-quality protein that’s easy to portion for bariatric meals. Substitute: ground turkey (if you want an even easier shred texture) or firm tofu for vegetarian protein.
- 1 tbsp olive oil — Why: small amount of healthy fat helps flavor absorption and satiety. Substitute: use a light spray of oil or 1 tbsp broth if oil must be minimized.
- 1 cup red bell pepper, chopped — Why: vitamin C, crisp texture, and low sugar compared to pineapple-heavy recipes. Substitute: green bell pepper or diced zucchini for lower sugar impact.
- 1 cup green bell pepper, chopped — Why: color, crunch, nutrients; easy to chew. Substitute: yellow pepper or snap peas.
- ½ cup onion, chopped — Why: building savory base and aroma; cooks soft for gentle digestion. Substitute: green onion for milder flavor.
Sauce
- ¼ cup sugar-free ketchup — Why: provides tomato sweetness and thickness without sugar. Substitute: tomato purée with a teaspoon of natural sweetener.
- 3 tbsp rice vinegar — Why: classic sweet-and-sour tang, aids digestion in small amounts. Substitute: apple cider vinegar.
- 1½ tbsp low-sodium soy sauce or coconut aminos — Why: umami with controlled sodium. Substitute: tamari (gluten-free).
- 1½ tbsp sugar-free sweetener (erythritol, allulose, or monk fruit) — Why: replicates sugar’s balance without carbs. Substitute: reduce by half or use a tablespoon of no-sugar pineapple juice for natural sweetness.
- 2 tbsp no-sugar pineapple juice (optional) — Why: adds authentic pineapple note with minimal sugar if used sparingly. Substitute: water + a squeeze of lime for brightness.
- 1 tsp garlic powder & ½ tsp ground ginger — Why: warm aromatics that support digestion and flavor depth. Substitute: 1 clove garlic and ½ tsp fresh grated ginger.
- 1 tsp xanthan gum OR 1 tbsp arrowroot slurry (1:1 arrowroot + cold water) — Why: thickens sauce with minimal carbs; arrowroot slightly higher in carbs but natural. Substitute: reduce to ½ tsp cornstarch slurry if not low-carb.
Finishes & Garnish
- Juice of ½ lime — Why: brightens sauce and aids flavor perception. Substitute: additional rice vinegar (small splash).
- Chopped scallions or cilantro to garnish — Why: freshness and color; aids absorption of fat-soluble nutrients.
How to Make Bariatric Sweet and Sour Chicken
Step 1 — Prep & Marinate (5–10 minutes)
Pat chicken dry; toss with a pinch of salt, ½ tbsp soy sauce, and a little black pepper. Let rest while you chop vegetables. This light marinade adds flavor without adding calories.
In-step tip: Dry chicken sears better and achieves that pleasant crust without frying.
Step 2 — Make the Sauce (5 minutes)
Whisk sugar-free ketchup, rice vinegar, soy sauce, sweetener, garlic powder, ginger, and optional pineapple juice in a small saucepan. Bring to a gentle simmer, then whisk in the xanthan gum a tiny pinch at a time (or add arrowroot slurry) until it thickens and glazes the back of a spoon. Remove from heat and stir in lime juice.
In-step tip: If the sauce thickens too much, thin with 1-2 tbsp warm water or broth; thickening can intensify upon cooling.
Step 3 — Sear the Chicken (6–8 minutes)
Heat the nonstick skillet over medium-high with 1 tbsp oil. Add chicken in a single layer; don’t overcrowd. Sear until golden and cooked through (6–8 minutes), flipping once. Remove chicken to a plate.
Mini-encouragement: Don’t fret if pieces are uneven — the sauce ties everything together.
Step 4 — Sauté Vegetables (3–4 minutes)
In the same skillet, add chopped onion and bell peppers. Sauté briefly until peppers are bright and slightly tender but still crisp — about 3 minutes.
Timing tip: Keeping peppers slightly crisp gives texture and helps chewing comfort.
Step 5 — Combine & Glaze (2 minutes)
Return chicken to the pan, pour the sauce over, and toss gently until every piece is glossy. Heat through for 1–2 minutes to marry flavors.
Serve suggestion: Portion ¾ cup chicken & veg per serving and plate over ½–1 cup cauliflower rice for a bariatric-friendly meal.
Air Fryer / Oven / Stovetop Variants
- Air Fryer: Toss chicken in a light spray of oil and air-fry at 400°F for 8–10 minutes, shaking halfway. Stir-fry peppers separately for 4 minutes, then glaze. Results are crispier and still bariatric-friendly.
- Oven: Arrange chicken on a sheet and roast at 425°F for ~12 minutes. Roast peppers for 8 minutes, then combine with sauce.
- Stovetop one-pan: Sear chicken and cook peppers sequentially, then simmer sauce with everything together for 2–3 minutes.
Common Mistakes to Avoid
- Over-thickening sauce: Too much xanthan or arrowroot makes it gummy — add slowly.
- Overcrowding pan: Causes steaming not searing — work in batches if needed.
- Using sweetened condiments: Adds hidden sugar — always check labels.
- Skipping resting time before serving: A minute off the heat lets juices stabilize and the sauce settle.
Pro Tips for Best Results
- Pat chicken very dry for the best sear with minimal oil.
- Toast a pinch of ginger powder in the pan before adding liquids for deeper flavor.
- For extra protein, stir a tablespoon of unflavored protein powder into warm sauce (test a small amount for texture).
- Portion into 1-cup servings and use airtight containers to prevent overeating and for easy macro tracking.
Bariatric Nutrition & Strategy
This Bariatric Sweet and Sour Chicken is composed to support bariatric goals: lean protein from chicken aids healing and muscle, vegetables provide low-calorie volume and fiber, and sugar-free sweeteners keep simple carbs down so blood sugar doesn’t spike. Serving size control is essential — aim for 3/4 cup protein/veg plus 1/2 cup cauliflower rice. The acid in rice vinegar and lime helps perception of sweetness, so you can use less sweetener and still enjoy a balanced dish.
Variations You Can Try
- Pineapple-suggested version: Add 2–3 tbsp fresh pineapple tossed in at the end for occasional treats (account for sugar).
- Spicy-sour: Add 1 tsp sriracha or ½ tsp chili flakes to the sauce.
- Vegetarian: Swap chicken for tempeh or extra-firm tofu; increase cooking time to crisp edges.
Tips for This Recipe
- Use colorful peppers for visual appeal that increases satisfaction.
- Keep a small bowl of sauce to add extra glaze at serving time for picky eaters.
- If you’re sensitive to vinegar, reduce rice vinegar to 2 tbsp and add an extra splash of lime.
Optional Additions
- Toasted sesame seeds (sparingly) for texture — watch additional calories.
- Shredded cabbage for bulk and crunch without many carbs.
- Fresh herbs like cilantro or basil for bright aromatics.
Serving Ideas
- Over cauliflower rice for low-carb, bariatric-friendly plating.
- In lettuce cups for hand-held, small-portion servings.
- With a small side of steamed green beans and a wedge of lime.
Storage Recommendations
- Fridge: 3–4 days in airtight containers. Reheat gently to avoid drying.
- Freezer: Up to 2 months in portioned bags; thaw overnight and reheat in skillet.
- Reheat tip: Add 1–2 tbsp water or broth when reheating to restore glossy sauce consistency.
Frequently Asked Questions (FAQ)
1. Can I freeze this dish?
Yes — portion into single servings and freeze up to 2 months. Thaw overnight and reheat gently.
2. Is this suitable after bariatric surgery?
Yes for later soft-solid stages. Early post-op patients should check with their clinician; puree if needed.
3. Can I use chicken thighs?
Yes — thighs are juicier but slightly higher in fat. Trim visible fat to keep it bariatric-friendly.
4. What low-carb thickeners are best?
Xanthan gum in tiny amounts or arrowroot slurry are best; add slowly to avoid texture issues.
5. How can I make it sweeter without sweeteners?
A small splash (1–2 tbsp) of no-sugar pineapple juice or a tiny grated apple can help, but account for carbs.
6. Can I make this gluten-free?
Yes — use tamari or coconut aminos instead of soy sauce.
7. How much should I serve per meal?
Aim for about ¾ cup of chicken & veg plus ½ cup cauliflower rice for most bariatric portions.
Nutritional Breakdown (Per Serving — estimated)
(Recipe yields 4 servings)
- Calories: 220 kcal
- Protein: 34 g
- Fat: 7 g
- Total Carbs: 8 g
- Fiber: 2 g
- Net Carbs: 6 g
- Sugar: 2 g (from natural tomato base)
- Sodium: ~420 mg (use low-sodium soy to reduce)
Note: Values are estimates — please calculate with your ingredient labels for accuracy.
Recipe Snapshot
- Prep Time: 10 minutes
- Cook Time: 20 minutes
- Total Time: 30 minutes
- Course: Main Course
- Cuisine: Takeout-inspired / Asian-inspired
- Servings: 4
- Calories (per serving): ~220 kcal
Bariatric Sweet and Sour Chicken Recipe
Ingredients
- 1 lb boneless skinless chicken breast diced
- 1 tbsp olive oil
- 1 cup red bell pepper chopped
- 1 cup green bell pepper chopped
- ½ cup onion chopped
- ¼ cup sugar-free ketchup
- 3 tbsp rice vinegar
- 1½ tbsp low-sodium soy sauce
- 1½ tbsp sugar-free sweetener erythritol/allulose
- 2 tbsp no-sugar pineapple juice optional
- 1 tsp garlic powder ½ tsp ground ginger
- 1 tsp xanthan gum or 1 tbsp arrowroot slurry
- Juice of ½ lime scallions for garnish
Instructions
- Marinate chicken with ½ tbsp soy sauce, salt, pepper (10 min).
- Whisk sauce ingredients; simmer and thicken.
- Sear chicken in 1 tbsp oil until golden (6–8 min). Remove.
- Sauté peppers and onion 3–4 min. Return chicken.
- Pour sauce, toss until glossy and heated through (1–2 min).
- Garnish and serve over cauliflower rice.