This post may contains Amazon affiliate and other affiliate links. If you make a purchase through these links, I may earn a small commission at no extra cost to you. Your support helps me continue to provide quality content. I only recommend products I personally trust and believe will add value to your experience. For more details, please visit my Privacy Policy.
Introduction
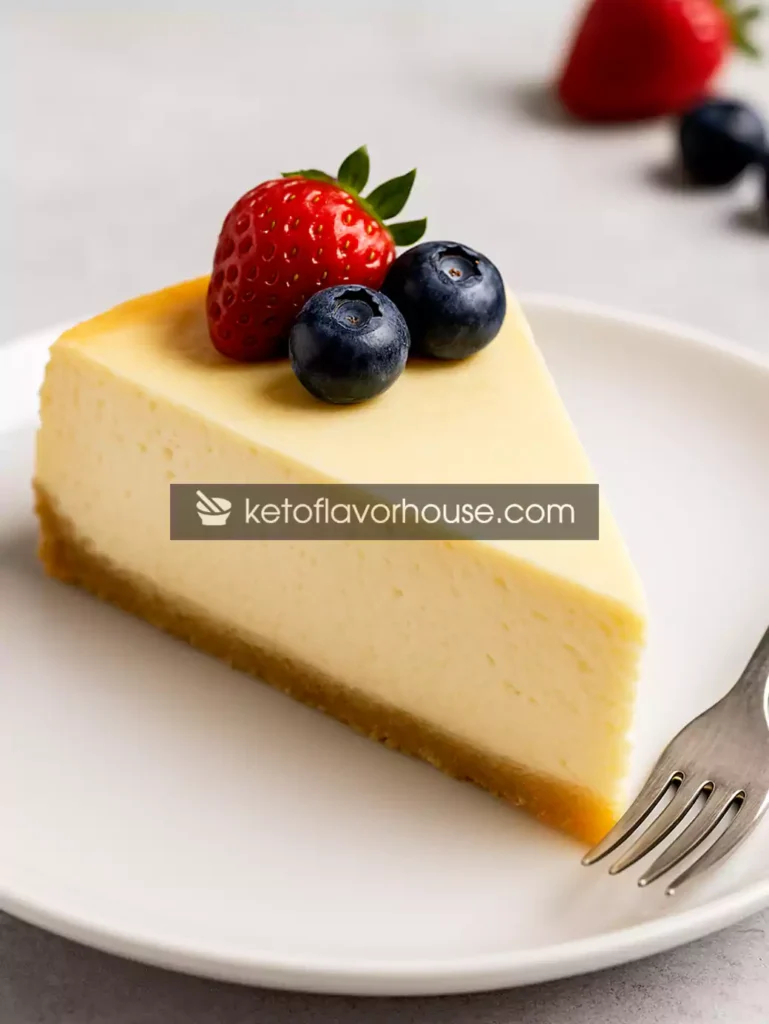
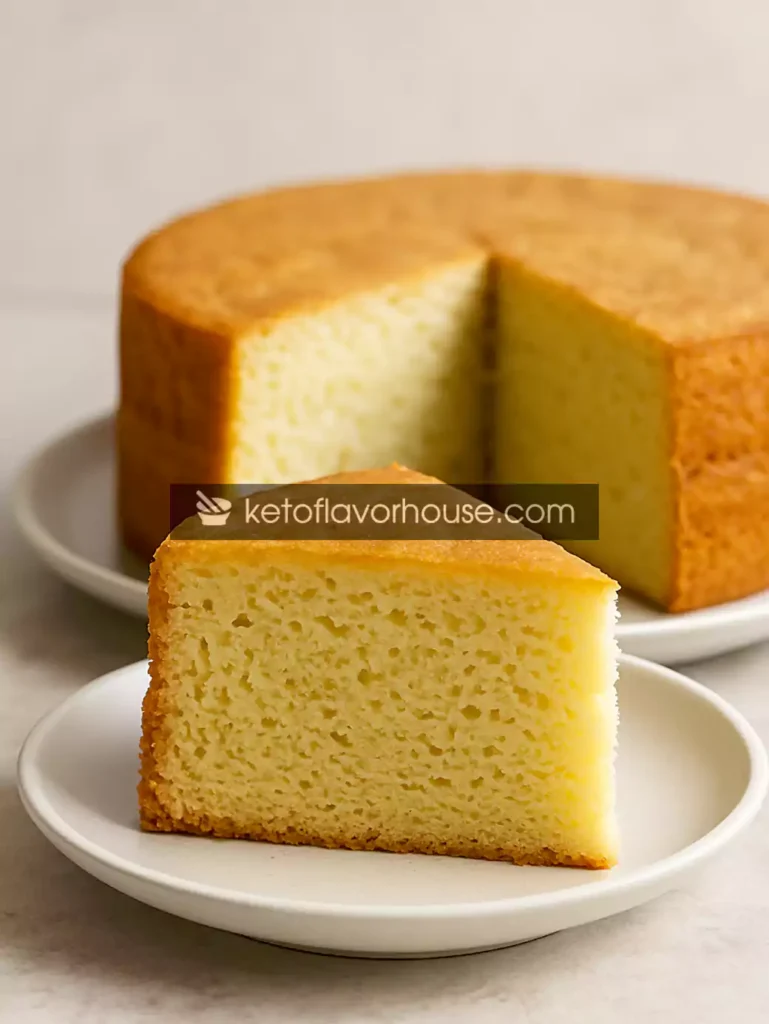
There’s something deeply comforting about banana bread. For many of us, it carries memories of quiet mornings, overripe bananas on the counter, and that familiar warm scent filling the kitchen. But when you’re committed to a high-protein lifestyle, traditional banana bread often becomes one of those foods you “used to love” rather than something you still enjoy regularly. That’s exactly the gap this High-Protein Banana Cheesecake Bread (Healthy Dessert-Style Loaf) was created to fill.
The idea for this recipe came from one simple craving: I wanted something that tasted like dessert but functioned like a protein-rich, nourishing snack. I didn’t want a protein bar pretending to be cake, and I didn’t want dry, chalky “healthy baking.” I wanted something moist, creamy, and satisfying — something that felt indulgent while still supporting energy, satiety, and muscle recovery.
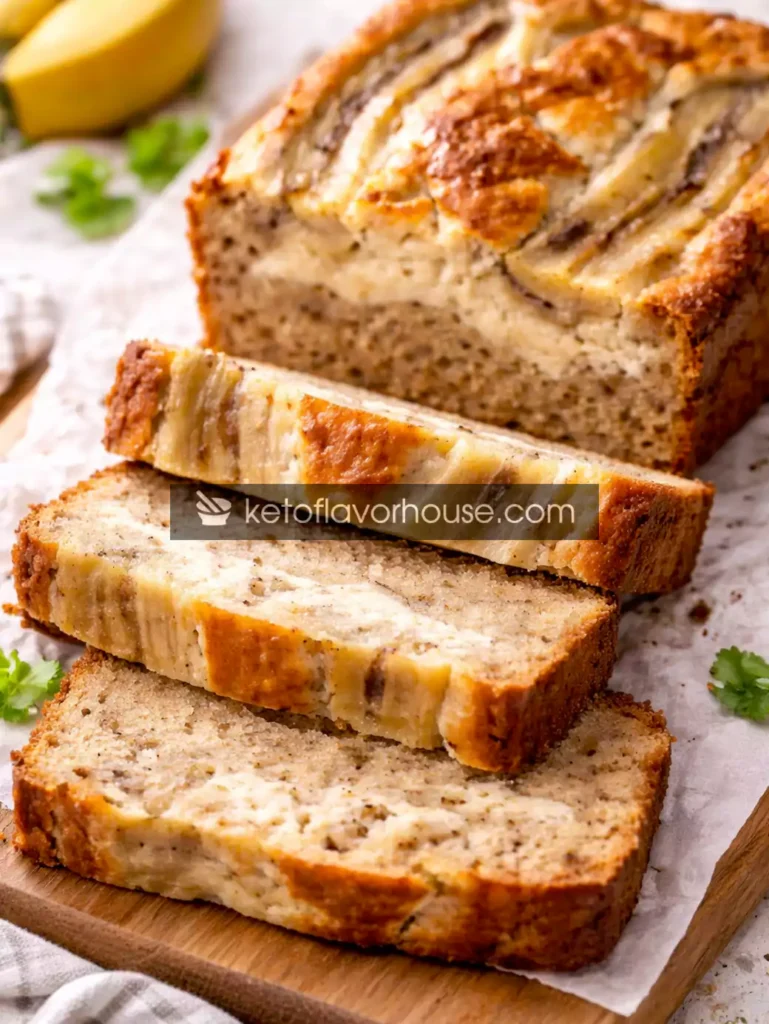
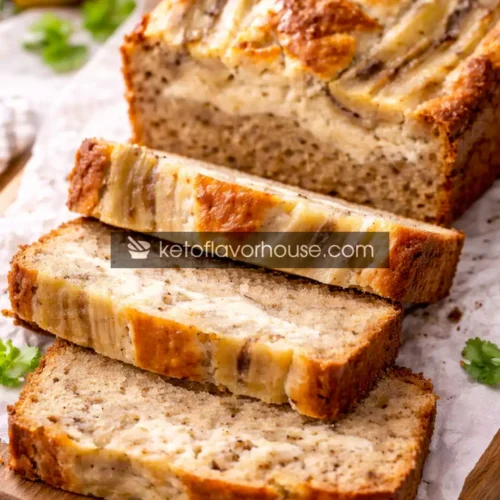
This High-Protein Banana Cheesecake Bread brings together the natural sweetness of ripe bananas and the creamy richness of cheesecake-style batter, all while significantly boosting protein content. It’s ideal for people who train regularly, those focused on weight management, or anyone who feels better when their meals and snacks are protein-forward. What makes it special is that it doesn’t taste high-protein — it tastes like something you’d happily slice into with coffee, serve to guests, or keep in the fridge for stress-free snacking.
Why You’ll Love This Recipe
- 🍌 Naturally sweet banana flavor
- 🧀 Creamy cheesecake-style texture
- 💪 High-protein without dryness
- 🧁 Dessert-like but nourishing
- ⏱️ Great for meal prep
- 👨👩👧 Family-friendly and freezer-friendly
My Personal Experience
The first time I tested this recipe, I’ll be honest — I expected it to be “good for a healthy version.” That’s usually the compromise we accept with high-protein baking. But when I sliced into the loaf after it cooled, I immediately knew this one was different. The texture was soft and creamy, almost custard-like in the center, with a gentle banana aroma that felt comforting rather than artificial.
What stood out most wasn’t just the taste — it was how satisfying it was. One slice held me over for hours. No sugar crash, no urge to snack immediately afterward. That’s the quiet power of protein-rich baking when it’s done correctly.
This bread became something I reached for after workouts, during long workdays, and even in the evening when dessert cravings hit. Recipes like this matter because they remove friction. They make it easier to stay consistent without feeling restricted, and that’s the real key to long-term results.
Required Equipment
Mixing Bowls
You’ll need at least two mixing bowls — one for the banana bread batter and one for the cheesecake layer. Having separate bowls helps maintain a clean, defined swirl and prevents overmixing.
Alternative:
If you’re short on bowls, you can mix the cheesecake layer first, transfer it to a temporary container, and reuse the bowl.
Hand Mixer or Whisk
A hand mixer makes the cheesecake layer smooth and lump-free, especially when working with cream cheese or cottage cheese. A whisk works, but it requires more effort.
Loaf Pan
A standard loaf pan gives the bread structure and allows even baking. Lining it with parchment makes removal easy.
Spatula
A flexible spatula helps fold ingredients gently and scrape every bit of batter without deflating it.
Ingredients & Substitutions
Ripe Bananas – 3 medium (about 300 g mashed)
Bananas provide natural sweetness, moisture, and structure. Using ripe bananas reduces the need for added sweeteners.
Cream Cheese – 200 g, softened
Cream cheese creates the cheesecake texture and adds fat for satiety.
Substitution:
Blended cottage cheese for higher protein and lighter texture.
Eggs – 3 large
Eggs bind the batter and contribute high-quality protein.
Greek Yogurt – ½ cup
Greek yogurt boosts protein while keeping the loaf moist.
Substitution:
Skyr or labneh.
Protein Powder – ½ cup (vanilla or unflavored)
This is where the “high-protein” element is reinforced.
Tip:
Use whey-casein blend for best texture.
Almond Flour – 1 cup
Keeps the loaf tender and lower-carb than wheat flour.
Baking Powder – 1½ teaspoons
Sweetener – to taste
Use monk fruit, erythritol, or coconut sugar depending on dietary needs.
Vanilla Extract – 1 teaspoon
Salt – ¼ teaspoon
How to Make High-Protein Banana Cheesecake Bread (Healthy Dessert-Style Loaf)
Step 1
Preheat your oven to 175°C (350°F) and line a loaf pan with parchment paper.
Step 2
Mash the bananas until smooth and creamy, ensuring no large chunks remain.
Step 3
In a bowl, beat the cream cheese until smooth, then mix in Greek yogurt, eggs, sweetener, and vanilla until creamy.
Step 4
In another bowl, combine almond flour, protein powder, baking powder, and salt.
Step 5
Fold the dry ingredients into the banana mixture gently, avoiding overmixing.
Step 6
Pour half the banana batter into the loaf pan, spoon cheesecake mixture on top, then swirl lightly.
Step 7
Bake for 45–55 minutes, tenting loosely if browning too quickly.
Step 8
Cool completely before slicing for best texture.
Common Mistakes to Avoid
Overmixing is the most common mistake. Protein powders react poorly to aggressive mixing and can cause rubbery texture. Another issue is slicing too early — this bread needs time to set. Lastly, using low-quality protein powder can dramatically affect flavor.
Pro Tips for Best Results
Let all ingredients come to room temperature. Use a gentle swirl instead of full mixing for cheesecake layers. For lower calories, replace half the cream cheese with Greek yogurt.
High-Protein Nutrition & Strategy
Protein-rich baking works best when protein is integrated structurally, not just added. This recipe balances dairy-based protein, egg protein, and supplemental protein powder to create sustained fullness without digestive heaviness. It’s ideal for post-workout recovery, controlled desserts, and structured snacking.
Variations You Can Try
- Chocolate chip version (sugar-free chips)
- Cinnamon swirl
- Lemon cheesecake banana bread
- Peanut butter banana version
Each variation slightly adjusts macros but keeps protein dominant.
Tips for This Recipe
Slice with a warm knife for clean cuts. Serve chilled for a firmer cheesecake texture or slightly warmed for softness.
Optional Additions
- Chia seeds for fiber
- Collagen peptides (heat-stable)
- Chopped walnuts for texture
Serving Ideas
- Breakfast slice with coffee
- Post-workout snack
- Evening dessert replacement
- Meal-prep protein loaf
Storage Recommendations
Store in the fridge for up to 5 days. Freeze slices individually for up to 2 months. Thaw overnight for best texture.
Frequently Asked Questions (FAQ)
Can I add more protein powder?
Only slightly — too much affects moisture.
Is this good post-workout?
Yes, especially with dairy-based protein.
Can I make it dairy-free?
Texture will change significantly.
Meal-prep friendly?
Extremely.
Can I use plant protein?
Yes, but expect denser texture.
Nutritional Breakdown (Per Serving)
- Calories: ~220
- Protein: ~17 g
- Fat: ~11 g
- Total Carbs: ~14 g
- Fiber: ~4 g
- Net Carbs: ~10 g
- Sugar: ~6 g
- Sodium: ~180 mg
📌 Recipe Snapshot
Prep Time: 15 minutes
Cook Time: 50 minutes
Total Time: 65 minutes
Course: Dessert / Snack
Cuisine: American
Servings: 10
Calories: ~220
Protein: ~17 g
High-Protein Banana Cheesecake Bread Recipe
Ingredients
- 3 ripe bananas
- 200 g cream cheese
- 3 eggs
- ½ cup Greek yogurt
- ½ cup protein powder
- 1 cup almond flour
- Baking powder salt, vanilla
Instructions
- Preheat your oven to 175°C (350°F) so it’s fully hot by the time the batter is ready. Line a standard loaf pan with parchment paper, leaving a little overhang on the sides. This makes it much easier to lift the bread out cleanly after baking and prevents sticking.
- Peel the ripe bananas and place them in a mixing bowl. Use a fork or potato masher to mash them until completely smooth, with no large lumps. Smooth bananas create a more even texture and help keep the loaf moist.
- In a separate bowl, add the softened cream cheese, Greek yogurt, eggs, sweetener, and vanilla extract. Beat the mixture until it becomes smooth and creamy, with no visible lumps. This step is key to achieving that rich, cheesecake-style texture throughout the bread.
- In another bowl, combine all the dry ingredients, such as almond flour, protein powder, baking powder, and salt. Stir well to evenly distribute everything, which helps the loaf rise evenly and prevents pockets of dry ingredients.
- Gently fold the dry ingredients into the mashed banana mixture using a spatula. Mix just until combined, stopping as soon as you no longer see dry flour. Overmixing at this stage can make the bread dense or rubbery, especially when protein powder is involved.
- Pour about half of the banana batter into the prepared loaf pan and spread it evenly. Spoon the cheesecake mixture over the batter, then add the remaining banana batter on top. Use a knife or skewer to gently swirl the layers together, being careful not to overmix them.
- Place the loaf pan in the preheated oven and bake until the bread is set in the center and lightly golden on top. A toothpick inserted into the middle should come out mostly clean, with a few moist crumbs but no wet batter.
- Remove the loaf from the oven and let it cool completely in the pan. This cooling time allows the cheesecake layer to fully set and makes slicing much easier, resulting in clean, neat slices with the best texture.
Subscribe to our newsletter!