This post may contains Amazon affiliate and other affiliate links. If you make a purchase through these links, I may earn a small commission at no extra cost to you. Your support helps me continue to provide quality content. I only recommend products I personally trust and believe will add value to your experience. For more details, please visit my Privacy Policy.
🍪 Introduction
There’s a moment in baking when you realize you’ve crossed from “just making cookies” into something far more special. For me, that moment came when I first tasted High Protein Brown Butter Miso Chocolate Chip Cookies (Bakery Style)—a recipe that completely changed how I see dessert.
At first, the idea sounded unusual. Miso… in cookies? It didn’t make sense. But once you understand what it does, everything clicks. The miso doesn’t make the cookies taste savory—it enhances everything. It deepens the chocolate, amplifies the sweetness, and adds a subtle, almost addictive complexity that keeps you going back for another bite.
Now combine that with brown butter—rich, nutty, caramel-like—and a carefully balanced protein boost… and suddenly, you’re not just making cookies anymore. You’re creating something that feels like it came from a high-end bakery, but still fits perfectly into a high-protein lifestyle.
These High Protein Brown Butter Miso Chocolate Chip Cookies are designed for people who don’t want to choose between indulgence and nutrition. Whether you’re focused on muscle recovery, staying full longer, or simply making smarter food choices, this recipe gives you a way to enjoy dessert without compromise.
They’re:
- Soft in the center
- Slightly crisp on the edges
- Rich, deep in flavor
- And surprisingly satisfying thanks to added protein
This is not your average cookie recipe. This is a next-level upgrade.
✨ Why You’ll Love This Recipe
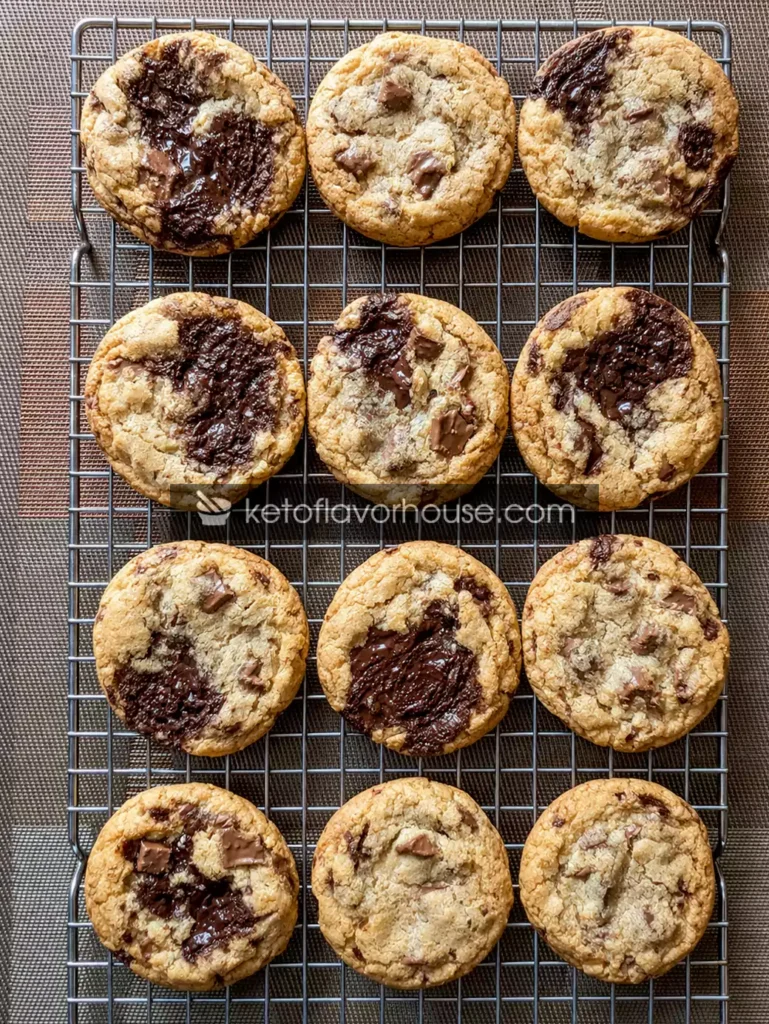
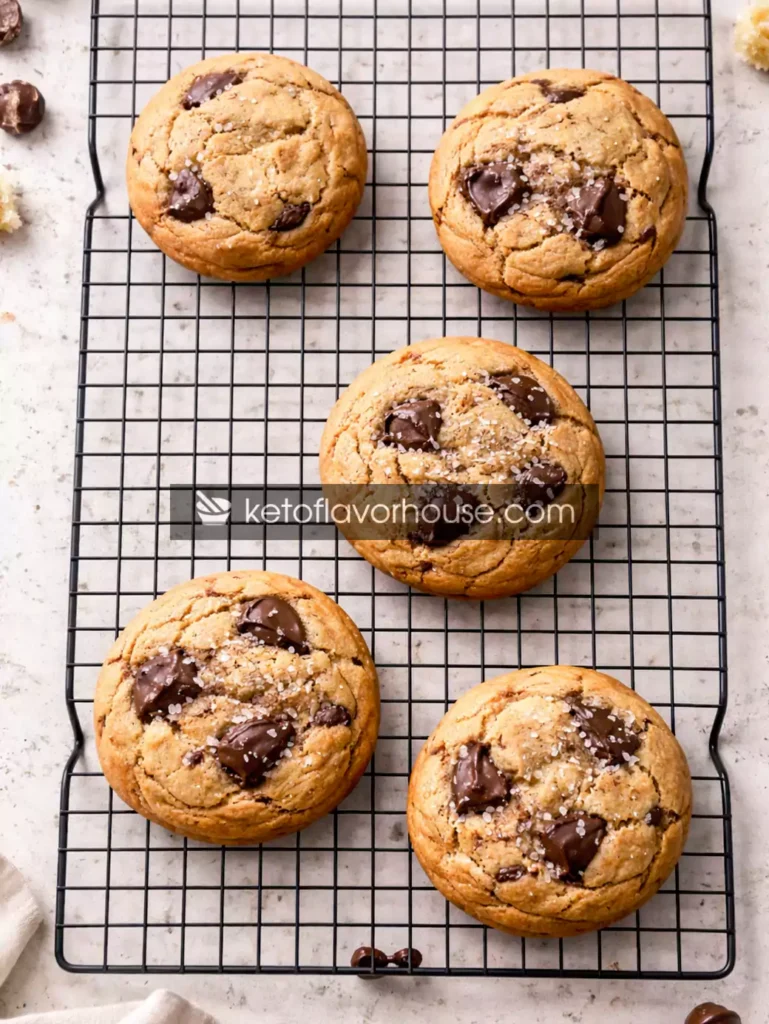
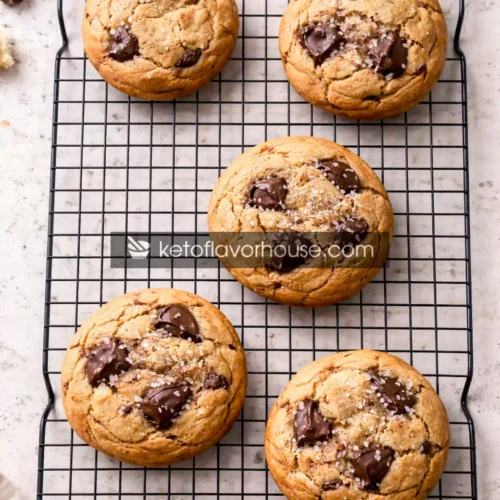
- 🍪 Soft Centers + Crispy Edges – Perfect bakery-style texture
- 🧈 Brown Butter Flavor – Deep, nutty richness
- 🍫 Gooey Chocolate Pools – Melted chunks, not dry chips
- 🧂 Umami Boost from Miso – Enhances sweetness and flavor
- 💪 High Protein – Supports muscle recovery & satiety
- ⏱️ Simple Yet Gourmet – Easy steps, premium results
- 📦 Meal Prep Friendly – Stays soft for days
❤️ My Personal Experience
I’ll be honest—the first time I heard about miso cookies, I was skeptical.
I had always associated miso with soups or savory dishes. Adding it to cookies felt… wrong.
But curiosity won.
I made a small batch, just to test it. And the moment I took that first bite, I paused.
It didn’t taste like miso.
It tasted… better than a regular cookie.
The chocolate was richer. The sweetness felt more balanced. The flavor lingered longer. It was subtle, but powerful.
That’s when I knew I had something special.
Later, I challenged myself to turn it into a high-protein version. And honestly, that part wasn’t easy. Protein powder can easily ruin texture if you’re not careful.
But after a few adjustments—balancing moisture, tweaking ratios, testing different blends—I finally got it right.
Now, this recipe is one of my favorites. It’s the kind of dessert that feels indulgent but actually supports my routine. It keeps me full, satisfies cravings, and feels like something I’d proudly serve to anyone.
🛠️ Required Equipment
Mixing Bowl
A large bowl is essential for combining ingredients smoothly, especially when working with thicker dough.
Saucepan
Used to brown the butter. A light-colored pan helps you see when the butter reaches the perfect golden stage.
Electric Mixer or Whisk
Helps create a smooth, creamy base when mixing butter and sugar.
Spatula
Perfect for folding in chocolate without overmixing the dough.
Baking Tray
Ensures even baking. Always use parchment paper for best results.
Cookie Scoop
Helps maintain uniform size for even baking and a professional look.
🥣 Ingredients & Substitutions
Main Ingredients
- Butter (200g, browned)
Adds rich, nutty flavor and moisture. - Brown Sugar (100g)
Keeps cookies soft and chewy. - White Sugar (80g)
Creates slight crisp edges. - Eggs (2)
Provide structure and protein. - Vanilla Extract (1 tbsp)
Enhances overall flavor. - White Miso Paste (1–2 tbsp)
Adds umami and depth without making cookies savory. - All-Purpose Flour (250g)
Provides structure. - Protein Powder (100g, whey-casein blend)
Boosts protein while maintaining texture. - Baking Soda (1 tsp)
Helps cookies spread. - Baking Powder (½ tsp)
Adds lightness. - Milk (2–4 tbsp)
Restores moisture. - Chocolate Chunks (200g)
Creates gooey, melted pockets.
🔄 Substitutions
- Greek yogurt for part of butter
- Plant-based protein powder (denser result)
- Dark chocolate only for less sweetness
- Oat flour for added fiber
👨🍳 How to Make High Protein Brown Butter Miso Chocolate Chip Cookies
Step 1: Brown the Butter
Cook butter until golden and nutty, then cool completely.
👉 Tip: Watch closely—burnt butter ruins flavor.
Step 2: Mix Wet Ingredients
Combine butter, sugars, vanilla, and miso.
Step 3: Add Eggs
Mix until glossy and smooth.
Step 4: Combine Dry Ingredients
Mix flour, protein powder, baking soda, and baking powder.
Step 5: Combine Everything
Mix gently until just combined.
Step 6: Add Chocolate
Fold in chocolate chunks.
Step 7: Rest Dough
Let it rest 20–30 minutes.
Step 8: Bake
Bake at 180°C for 10–12 minutes.
⚠️ Common Mistakes to Avoid
- Adding too much miso
- Overmixing dough
- Using only whey protein
- Overbaking
🔥 Pro Tips for Best Results
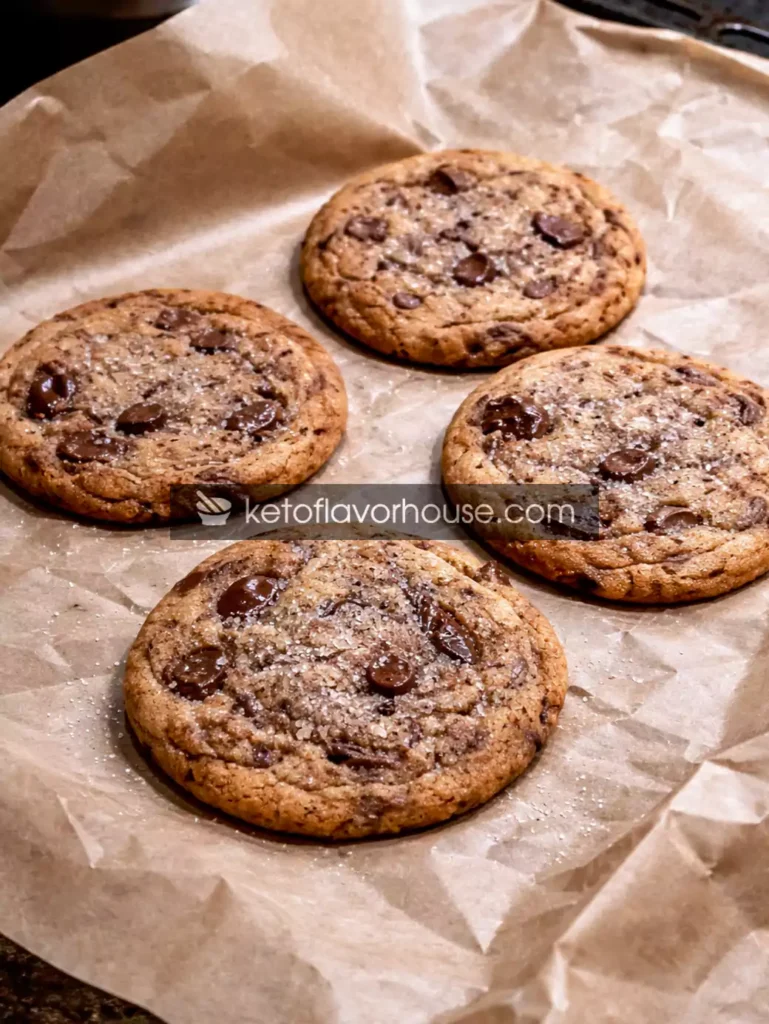
- Use chopped chocolate, not chips
- Slightly underbake
- Use flaky salt topping
- Balance protein carefully
💪 High-Protein Nutrition & Strategy
Protein helps:
- Muscle repair
- Satiety
- Energy balance
These cookies:
- Reduce cravings
- Add protein to desserts
- Support consistency
🎨 Variations You Can Try
- Dark chocolate miso cookies
- Peanut butter miso cookies
- White chocolate miso version
- Espresso chocolate cookies
💡 Tips for This Recipe
- Serve warm
- Add sea salt
- Pair with coffee
➕ Optional Additions
- Chia seeds
- Nuts
- Extra egg whites
🍽️ Serving Ideas
- Post-workout snack
- Dessert
- Meal prep
🧊 Storage Recommendations
- Fridge: 5–7 days
- Freezer: 2 months
- Reheat: 10–15 seconds
❓ Frequently Asked Questions
Will they taste like miso?
No, just enhanced flavor.
Can I skip miso?
Yes, but flavor won’t be as deep.
Can I use plant protein?
Yes, but texture changes.
Are these good for weight loss?
Yes, in moderation.
Can I freeze dough?
Yes.
📊 Nutritional Breakdown (Per Cookie)
- Calories: 210
- Protein: 11g
- Fat: 11g
- Carbs: 18g
- Fiber: 2g
- Net Carbs: 16g
- Sugar: 9g
- Sodium: 150mg
📌 Recipe Snapshot
- Prep Time: 15 minutes
- Cook Time: 12 minutes
- Total Time: 27 minutes
- Course: Dessert
- Cuisine: American
- Servings: 18 cookies
- Calories: 210
- Protein: 11g
High Protein Brown Butter Miso Chocolate Chip Cookies Recipe
Ingredients
- Unsalted Butter: 200g to be browned
- Brown Sugar: 100g
- White Sugar: 80g
- Eggs: 2 large
- All-Purpose Flour: 250g
- Protein Powder whey-casein blend: 100g
- White Miso Paste: 1 to 1½ tbsp 15–25g, adjust to taste
- Baking Soda: 1 tsp
- Baking Powder: ½ tsp
- Salt: ¼ tsp reduce because miso is salty
- Milk: 2–4 tbsp as needed for dough consistency
- Chocolate Chunks: 200g mix of dark + milk recommended
Instructions
- Place the butter in a light-colored saucepan over medium heat and allow it to melt completely. Stir continuously as it begins to foam, then watch closely as it turns golden with small brown bits forming at the bottom. You’ll notice a rich, nutty aroma—this is when it’s ready. Immediately remove it from the heat to prevent burning, pour it into a heat-safe bowl, and let it cool completely to room temperature before using.
- In a large mixing bowl, combine the cooled brown butter with the brown sugar, white sugar, vanilla extract, and miso paste. Using a whisk or electric mixer, mix until the mixture becomes smooth, creamy, and fully combined. Make sure the miso is evenly incorporated so there are no lumps—this ensures a balanced flavor throughout the cookies.
- Add the eggs one at a time, mixing well after each addition. Continue mixing until the mixture becomes glossy, slightly thick, and well emulsified. This step helps create structure while keeping the cookies soft and chewy.
- In a separate bowl, combine the flour, protein powder, baking soda, and baking powder. Whisk thoroughly to ensure everything is evenly distributed and there are no clumps, especially from the protein powder.
- Gradually add the dry ingredients into the wet mixture in batches, mixing gently with a spatula or on low speed if using a mixer. Mix just until the dough comes together and no dry flour is visible. Avoid overmixing, as this can make the cookies dense and tough.
- Add milk one tablespoon at a time, gently mixing after each addition until the dough becomes soft, smooth, and easy to scoop. The dough should hold its shape but not feel dry or crumbly. Be careful not to add too much milk, as it can cause excessive spreading during baking.
- Fold in the chocolate chunks using a spatula, making sure they are evenly distributed throughout the dough. Keep the folding gentle to maintain a soft dough texture.
- Cover the dough and let it rest at room temperature for 20–30 minutes. This allows the flour and protein powder to fully hydrate, improving the texture and making the cookies softer after baking.
- Line a baking tray with parchment paper. Scoop portions of dough (about 60–70g each) and place them onto the tray, leaving enough space between each portion to allow for spreading.
- Preheat your oven to 180°C (350°F), then place the tray in the center rack and bake for 10–12 minutes. The edges should be lightly golden and set, while the centers may still look slightly soft—this is ideal for achieving a chewy, bakery-style texture.
- Remove the cookies from the oven and allow them to rest on the tray for a few minutes before transferring them to a cooling rack. This helps them firm up slightly while keeping the inside soft and gooey. Serve warm for the best flavor and texture.