This post may contains Amazon affiliate and other affiliate links. If you make a purchase through these links, I may earn a small commission at no extra cost to you. Your support helps me continue to provide quality content. I only recommend products I personally trust and believe will add value to your experience. For more details, please visit my Privacy Policy.
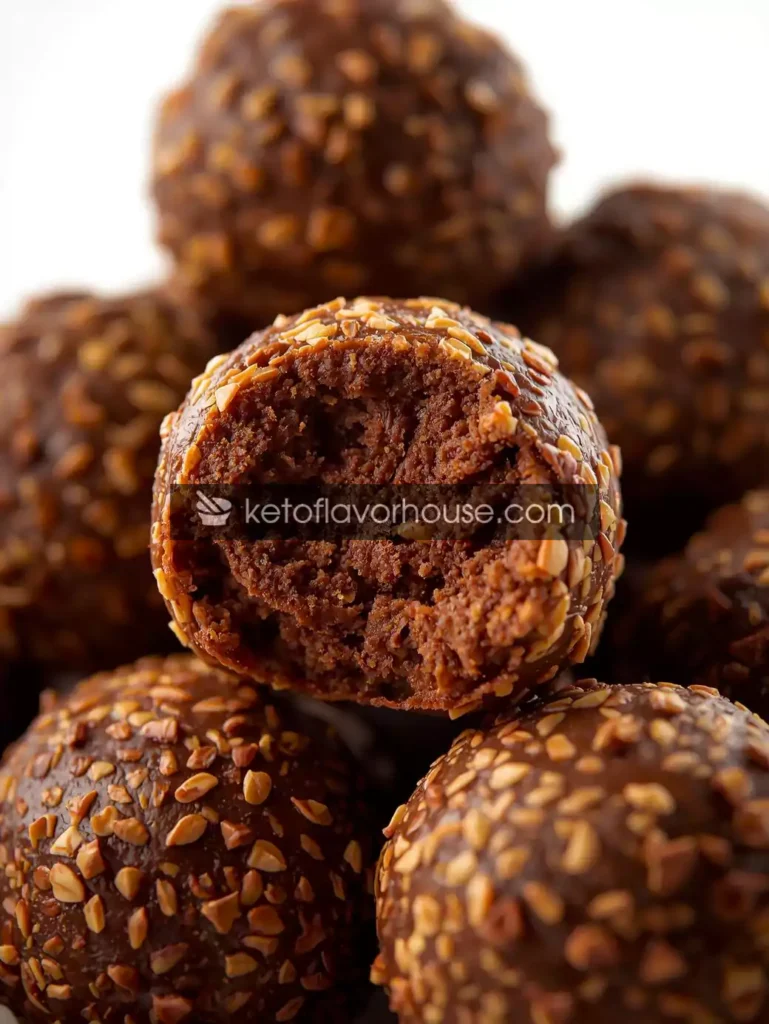
If you’ve ever hit that afternoon slump and reached for something sweet — only to regret it later — this one’s for you. These Bariatric Espresso Protein Balls are creamy, chocolatey, slightly nutty, and kissed with a hint of espresso for that perfect “wake-me-up” bite. They’re no-bake, portion-controlled, and packed with high-quality whey protein isolate, making them ideal for anyone following a bariatric, low-carb, or high-protein lifestyle.
☕️ A Little Backstory — How This Snack Became a Staple
When I was early in my bariatric journey, snacks were tricky. I wanted something indulgent enough to replace dessert but functional enough to fuel me through busy afternoons. That’s when I started experimenting with energy bites — and one day, I added a teaspoon of instant espresso powder into my usual mix.
Magic.
It transformed a regular protein bite into something that tasted like a mini mocha truffle. It gave me caffeine without needing another coffee, and best of all — no sugar crash. Now I batch-make them every Sunday and store them in the fridge for quick grab-and-go snacks.
💛 What Makes This Recipe Stand Out
- No sugar added, no baking required — just mix, roll, chill.
- Perfectly bariatric-friendly portions — one ball = 1 ounce of dense protein goodness.
- Uses whey protein isolate, which digests smoothly post-surgery and supports lean muscle maintenance.
- Customizable flavors — add cocoa, cinnamon, or almond extract for a twist.
- Freezer-friendly for up to 2 months.
Whether you’re a coffee lover, a fitness enthusiast, or someone who just wants to stay on track without sacrificing flavor — these protein balls are going to be your new favorite snack.
👩🍳 Blogger’s Note
If you’re someone who struggles with afternoon cravings (especially for chocolate or coffee), these are a game-changer. They give you that satisfying “dessert” moment but without sugar spikes or guilt. Plus, they’re quick enough to make during a podcast episode — seriously, less than 10 minutes of prep time.
🧰 Equipment You’ll Need (and Why)
- Mixing Bowl: A medium bowl works great for combining all ingredients evenly.
- Spatula or Silicone Spoon: Helps scrape and fold the sticky mixture without mess.
- Measuring Cups & Spoons: Precision matters to keep protein and calories accurate.
- Small Cookie Scoop (Optional): For consistent portion sizes — great for bariatric tracking.
- Airtight Container: Keeps the protein balls fresh for days in the fridge or weeks in the freezer.
🥣 Ingredients for Bariatric Espresso Protein Balls
| Ingredient | Amount | Notes & Substitutions |
|---|---|---|
| Whey protein isolate (vanilla or chocolate) | 1 scoop (30g) | Choose a low-carb, sugar-free brand. |
| Almond flour | ¼ cup | Adds texture; can sub oat flour (not keto). |
| Natural peanut butter | 2 tbsp | Use almond butter if preferred. |
| Unsweetened cocoa powder | 1 tbsp | Optional but adds rich flavor. |
| Espresso powder | 1 tsp | Instant coffee granules also work. |
| Sugar-free maple syrup or honey substitute | 1 tbsp | Adjust for sweetness preference. |
| Unsweetened almond milk | 1–2 tbsp | Add slowly for desired consistency. |
| Stevia or monk fruit sweetener | To taste | Optional for extra sweetness. |
| Pinch of salt | — | Balances flavors perfectly. |
🧑🍳 Step-by-Step: How to Make Bariatric Espresso Protein Balls
Step 1: Mix Dry Ingredients
In a medium bowl, combine the protein powder, almond flour, cocoa powder, espresso powder, and salt. Stir well to break up any clumps. This ensures the flavors blend evenly before adding the wet ingredients.
Step 2: Add Nut Butter & Sweetener
Stir in the peanut butter and sugar-free syrup. The mixture will start to get sticky and thick — that’s a good sign! It should begin to clump together.
Step 3: Adjust Consistency
Add almond milk, one tablespoon at a time, mixing as you go. You want a dough-like consistency — soft enough to roll, but not too wet. If it’s sticky, chill for 10 minutes before rolling.
Step 4: Shape the Balls
Use your hands or a small cookie scoop to form bite-sized balls (about 1 inch). Roll them between your palms until smooth.
Step 5: Chill and Set
Place on a parchment-lined plate or tray and refrigerate for 30 minutes. This helps them firm up and enhances the flavor.
Step 6: Enjoy or Store
Keep in an airtight container in the fridge for up to 7 days, or freeze up to 2 months.
🧘♀️ Why Bariatric Folks Love This Snack
After bariatric surgery, portion control, protein, and satiety are key. Each of these protein balls delivers all three:
- High in protein: Supports muscle recovery and fullness.
- Low in sugar: Avoids dumping syndrome and blood sugar spikes.
- Small portion size: Satisfies cravings without overeating.
- Soft texture: Easy to chew and digest post-surgery.
They’re also portable, making them great for work, travel, or post-workout refueling.
🩺 Health & Nutrition Insights
Coffee and protein may sound indulgent, but they’re actually a smart pairing. Here’s why:
- Caffeine boosts alertness, while protein helps maintain steady energy.
- Healthy fats from nut butter support hormone balance and nutrient absorption.
- Whey protein isolate helps prevent muscle loss and promotes healing after bariatric surgery.
- Low net carbs keep your blood sugar stable throughout the day.
🍽 Serving & Pairing Ideas
- Pair with a protein coffee or iced almond latte for an on-the-go breakfast.
- Serve one or two balls alongside a Greek yogurt for a balanced snack.
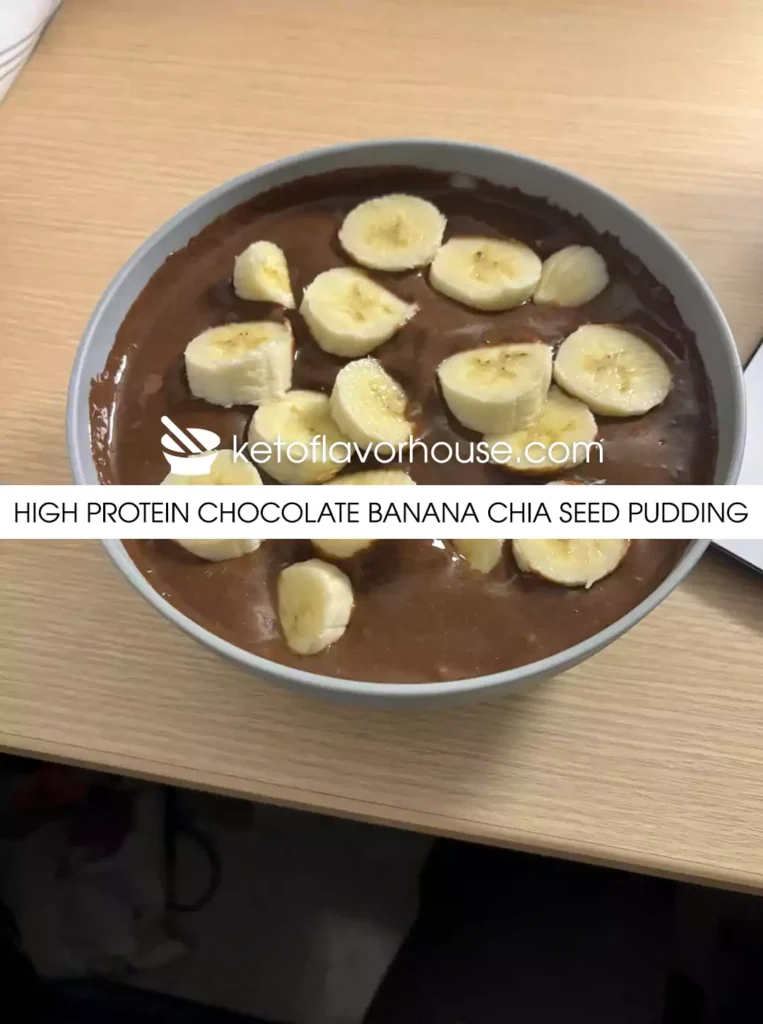
- Crumble one over low-carb oatmeal or a chia pudding bowl for crunch.
- Freeze a batch and pack for road trips or office snacks.
🧊 Storage & Meal-Prep Tips
- Fridge: Lasts up to 7 days in an airtight container.
- Freezer: Lasts up to 2 months — thaw overnight before eating.
- Batch Tip: Double the recipe and freeze half for later.
❓ FAQs
1. Can I make these without espresso?
Yes! You can replace espresso powder with cocoa or cinnamon for a caffeine-free version.
2. Can I use a different protein powder?
Absolutely. Plant-based or collagen protein works too, but texture and flavor will vary slightly.
3. What if my mixture is too dry?
Add a bit more almond milk (1 tsp at a time) until it holds together.
4. Are these keto-friendly?
Yes — they’re low in carbs and contain no added sugar.
5. Can I coat them in something?
Yes! Roll them in unsweetened cocoa powder, shredded coconut, or crushed peanuts for variety.
🧾 Nutrition Breakdown (per 1 ball, yields 8)
- Calories: 95
- Protein: 9g
- Fat: 5g
- Carbohydrates: 3g
- Net Carbs: 2g
🕒 Recipe Details
- Prep Time: 10 minutes
- Cook Time: 0 minutes (No Bake)
- Chill Time: 30 minutes
- Total Time: 40 minutes
- Course: Snack / Dessert
- Cuisine: Bariatric / High-Protein / Low-Carb
- Servings: 8 protein balls
- Calories per Serving: 95
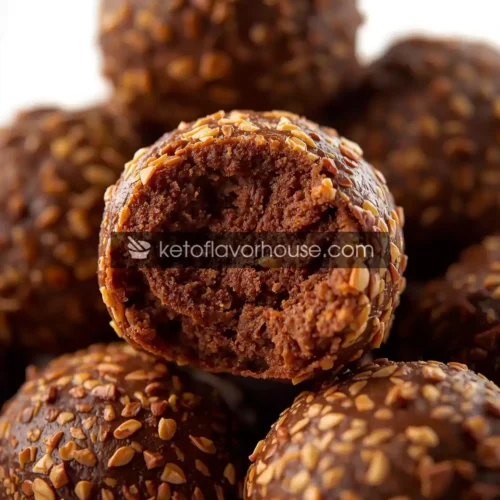
Bariatric Espresso Protein Balls – High-Protein, No-Bake Snack for Lasting Energy Recipe
Ingredients
- 1 scoop whey protein isolate
- ¼ cup almond flour
- 2 tbsp natural peanut butter
- 1 tbsp unsweetened cocoa powder
- 1 tsp espresso powder
- 1 tbsp sugar-free maple syrup
- 1 –2 tbsp almond milk
- Stevia to taste pinch of salt
Instructions
- Mix dry ingredients in a bowl.
- Add peanut butter, sweetener, and almond milk. Mix until dough-like.
- Roll into small balls.
- Chill 30 minutes before serving.
- Store in fridge or freezer.

