This post may contains Amazon affiliate and other affiliate links. If you make a purchase through these links, I may earn a small commission at no extra cost to you. Your support helps me continue to provide quality content. I only recommend products I personally trust and believe will add value to your experience. For more details, please visit my Privacy Policy.
🌟 Introduction
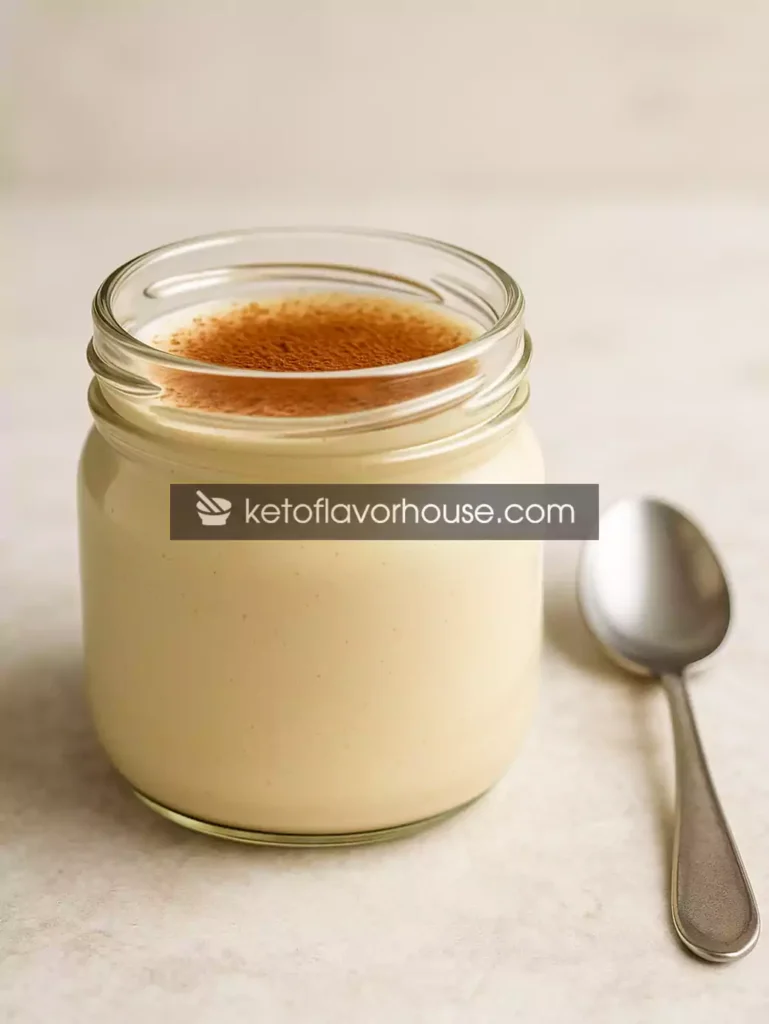
If you’re someone who craves dessert after every meal (guilty 🙋♀️) but also wants to stay on track with your high-protein lifestyle, then you’re about to fall in love with this High-Protein No-Bake Milk Pudding.
This isn’t your average pudding — it’s thick, creamy, and indulgent, yet made with just three simple ingredients that work together like magic. It’s one of those recipes that feels like a treat but fits right into your fitness goals.
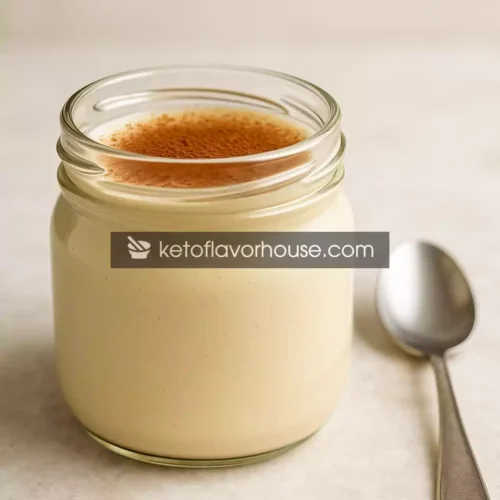
I first created this pudding on a night when I wanted something sweet but didn’t want to bake, blend, or dirty half the kitchen. I had protein milk, gelatin, and my trusty vanilla whey protein on hand. I whisked them together, let them chill overnight, and — wow. It set beautifully. Each spoonful was silky and melt-in-your-mouth creamy, like a healthier version of flan or panna cotta.
Now, this high-protein milk pudding has become a permanent staple in my fridge — it’s perfect for when I need a quick post-workout dessert or something sweet before bed that won’t derail my macros.
What makes this pudding special isn’t just the taste — it’s that it delivers 20+ grams of protein per serving with minimal effort and ingredients. You get the comfort of dessert and the satisfaction of fueling your body right.
💖 Why You’ll Love This Recipe
- 🍮 Just 3 Ingredients! – No fuss, no fancy techniques — just mix, chill, and enjoy.
- 💪 Packed with Protein – Over 20g protein per serving to support muscle repair and satiety.
- 🧊 No Baking Needed – A perfect no-cook dessert for busy schedules.
- 🥛 Creamy & Light – Smooth, custard-like texture without heavy cream.
- ⏰ Quick Prep – Only 10 minutes of hands-on time.
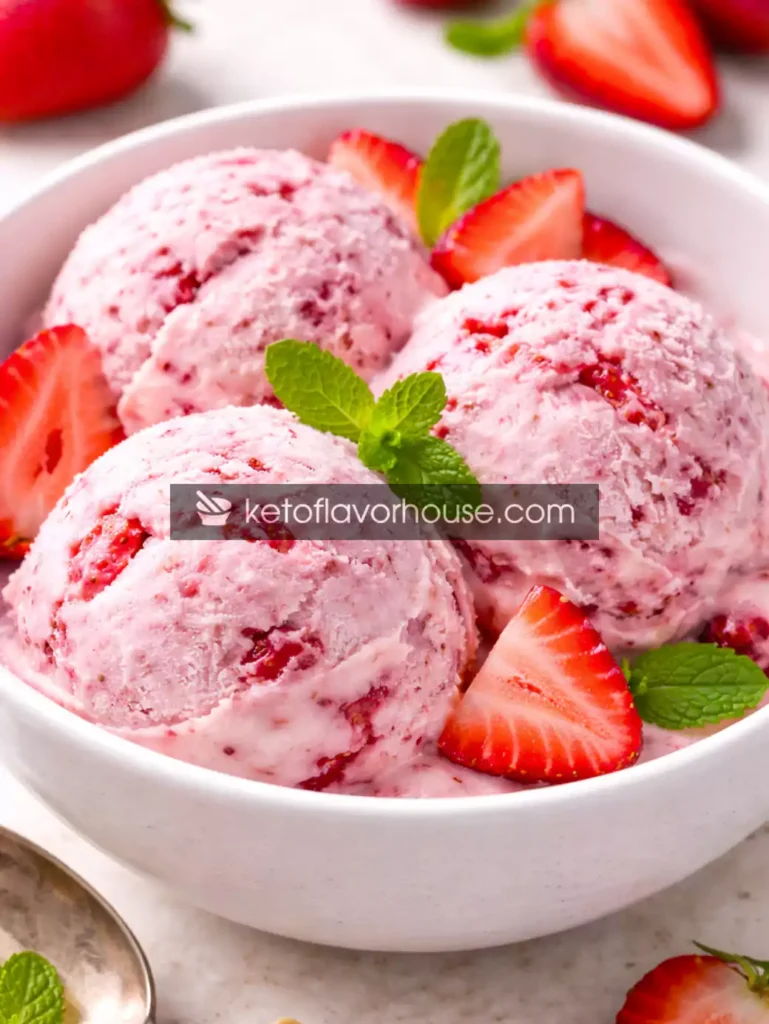
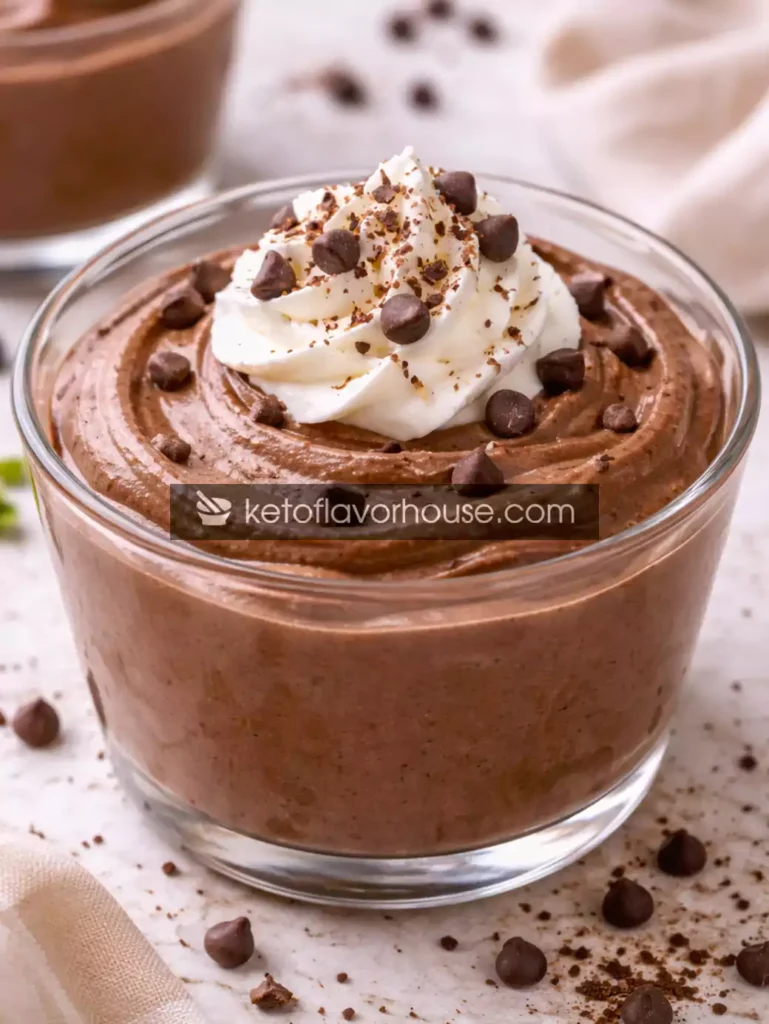
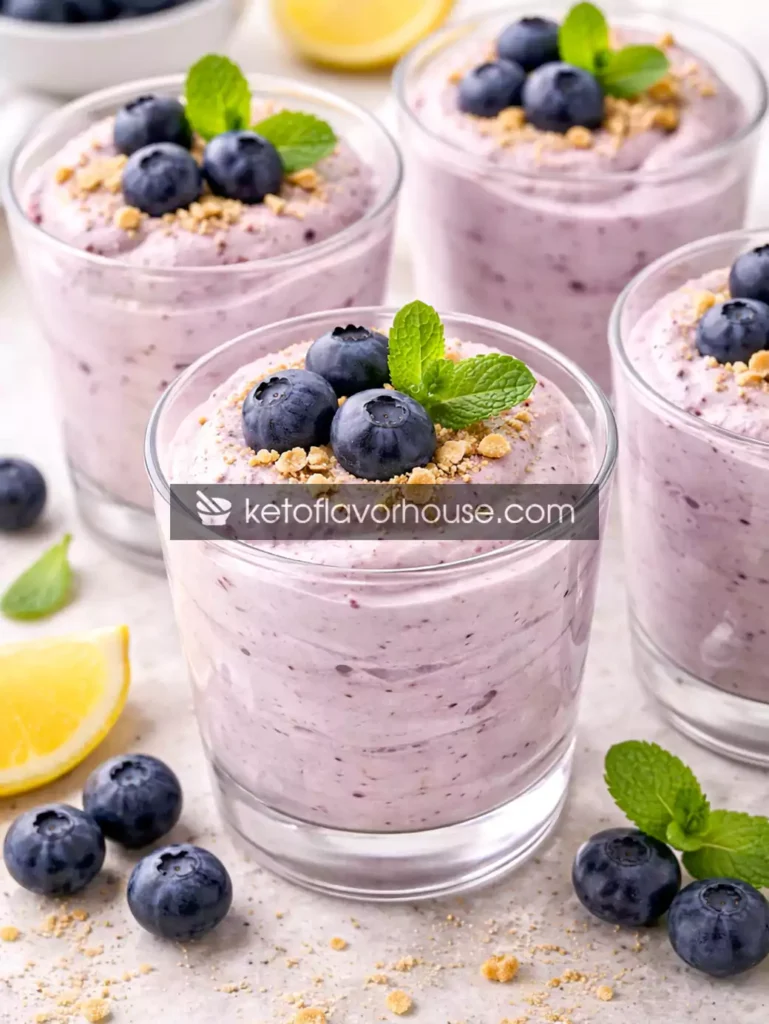
- 🍫 Customizable Flavors – Turn it into chocolate, coffee, caramel, or matcha pudding.
👩🍳 My Personal Experience
When I first made this pudding, I honestly didn’t expect much. I’d seen a trend online for “3-ingredient desserts,” and most looked… well, questionable. But one night, I had an intense craving for something creamy and sweet — the kind of craving that normally ends with a spoon in a peanut butter jar.
Instead, I decided to experiment. I used Fairlife high-protein milk, my favorite vanilla whey protein, and a bit of gelatin I had leftover from a cheesecake project.
The next morning, I opened the fridge to find these silky, perfectly set puddings. I grabbed a spoon, took a bite — and my jaw literally dropped. It tasted like real pudding, the kind you’d expect from a dessert shop, but somehow lighter and cleaner.
That moment changed my nighttime snack routine completely. Now I make a few jars at a time and keep them in the fridge for the week. Sometimes I top them with berries, sometimes a little cocoa dust, and sometimes just a drizzle of sugar-free syrup.
It’s so satisfying to know that every bite helps me stay on track with my goals while feeling like I’m indulging.
🧰 Required Equipment
Mixing Bowl
You’ll need a heat-safe mixing bowl to combine the milk and protein powder. It’s important for whisking smoothly without clumps.
Small Saucepan or Microwave-Safe Jug
Used for gently warming a portion of milk to dissolve the gelatin properly. Don’t boil — just warm enough to activate it.
Whisk
Essential for incorporating the protein powder evenly and preventing lumps.
Measuring Cups & Spoons
Accuracy matters here — especially for gelatin and protein powder.
Glass Jars or Dessert Cups
These help portion your puddings neatly and make them look elegant when set.
🥛 Ingredients & Substitutions
Makes 2 servings
| Ingredient | Amount | Nutrition Role / Notes |
|---|---|---|
| High-Protein Milk (like Fairlife or any fortified milk) | 1½ cups (360 ml) | Base of the pudding; provides protein, creaminess, and volume. |
| Whey Protein Powder (vanilla) | 1 scoop (25–30 g) | Adds 20–25g complete protein and sweetness. |
| Unflavored Gelatin Powder | 1½ tsp | Sets the pudding with a soft, spoonable texture. |
| (Optional) Sweetener or Flavoring | To taste | For extra sweetness or to enhance flavor (vanilla, cocoa, coffee, etc.) |
🔄 Substitutions
- Milk: Use any high-protein or low-fat milk. For dairy-free, try soy milk with pea protein powder.
- Protein Powder: Vanilla or chocolate whey isolate works best; casein protein creates a thicker, creamier result.
- Gelatin: Use 2 tsp agar-agar powder for a vegetarian alternative (slightly firmer set).
- Sweetener: If your protein powder isn’t sweetened, add stevia or allulose to taste.
💡 Tip: For a creamier version, replace ¼ cup of milk with ¼ cup Greek yogurt.
🥣 How to Make High-Protein No-Bake Milk Pudding
- Bloom the gelatin.
In a small bowl, add 1½ teaspoons gelatin powder and pour over 3 tablespoons of cold milk. Let it sit for 5–10 minutes until the gelatin absorbs the liquid and forms a gel-like consistency. This step ensures it dissolves smoothly later without clumping. - Warm the milk.
In a small saucepan over low heat, warm 1 cup of your high-protein milk (not boiling — just warm to the touch). Add the bloomed gelatin and whisk gently until it dissolves completely. The milk should be smooth, with no visible gelatin pieces. - Add protein powder.
Once the gelatin is fully dissolved, remove the saucepan from heat and whisk in 1 scoop of vanilla whey protein powder. Continue whisking until the mixture is smooth and lump-free. Mini Tip: Add protein powder off-heat to avoid curdling or clumping. - Add remaining milk & flavoring.
Stir in the remaining ½ cup of cold milk and any desired flavorings (vanilla extract, cocoa, instant coffee, or sweetener). Whisk until evenly combined. - Pour & chill.
Pour the mixture into glass jars or ramekins. Cover and refrigerate for at least 4 hours, or overnight, until fully set and firm to the touch. - Serve & enjoy.
Once set, top with a sprinkle of cocoa powder, sugar-free chocolate syrup, or a few berries. Serve chilled and creamy straight from the fridge!
💡 Texture Tip: For a softer, custard-like pudding, use 1 tsp gelatin instead of 1½ tsp.
⚠️ Common Mistakes to Avoid
- Boiling the milk – High heat destroys gelatin’s setting ability. Keep it warm, not hot.
- Skipping the bloom step – Dry gelatin won’t dissolve properly.
- Over-mixing protein powder – Leads to foam on top. Whisk gently off-heat.
- Using flavored milk + sweet protein powder – Can make it overly sweet. Balance your flavors.
- Not chilling long enough – The pudding needs at least 4 hours to firm up completely.
💡 Pro Tips for Best Results
- Mix protein powder with a little milk before adding it to the saucepan — it dissolves perfectly.
- For extra creaminess, use half Fairlife milk and half Greek yogurt.
- Don’t skip the chill time — that’s where the magic happens.
- If making multiple jars, top them with parchment circles before sealing to prevent skin formation.
- To make it more indulgent, drizzle a bit of melted dark chocolate before chilling.
🧬 High-Protein Nutrition & Strategy
This dessert isn’t just delicious — it’s macro-balanced and strategically designed for fitness lovers.
Each serving provides roughly:
- Calories: 190
- Protein: 22g
- Carbs: 6g
- Fat: 4g
It’s ideal for post-workout recovery or nighttime cravings since casein and whey together digest slowly, supporting muscle repair while keeping you full longer.
Why this matters:
- Whey protein triggers muscle recovery.
- Milk provides casein for slow-digesting protein.
- Gelatin adds collagen peptides for joint and skin health.
It’s basically dessert with benefits.
🍫 Variations You Can Try
- Chocolate Dream: Add 1 tbsp unsweetened cocoa powder before whisking.
- Coffee Bliss: Stir in 1 tsp instant espresso for a mocha twist.
- Strawberry Delight: Blend a few strawberries with the milk before heating.
- Caramel Protein Pudding: Add 1 tsp sugar-free caramel syrup to the milk base.
- Matcha Energy: Whisk in ½ tsp matcha powder for a gentle caffeine boost.
🥄 Optional Additions
- 1 tbsp Greek yogurt – extra creaminess & protein
- 1 tsp peanut butter – nutty flavor and healthy fats
- Collagen peptides – for skin and joint health boost
- Dash of cinnamon or nutmeg – warm aroma
🍽 Serving Ideas
- Top with whipped Greek yogurt and cocoa powder for a layered look.
- Serve with crushed nuts or dark chocolate shavings.
- Add fresh berries or banana slices for extra sweetness.
- Layer it with granola for a “protein dessert parfait.”
🧊 Storage Recommendations
- Fridge: Store covered for up to 4 days.
- Freezer: Not ideal — texture becomes icy.
- Meal Prep Tip: Make 3–4 jars on Sunday; grab one daily for an easy dessert or snack.
❓ Frequently Asked Questions
1. Can I make this without gelatin?
Yes! Use agar-agar (2 tsp) as a plant-based substitute, but reduce chilling time slightly.
2. Can I use plant-based protein powder?
Absolutely. Pea protein works well — it’ll be slightly thicker and grainier but still tasty.
3. Is this pudding keto-friendly?
Mostly, yes — if you use unsweetened high-protein milk and low-carb sweetener.
4. Can I use regular milk?
You can, but protein content will be lower (about 8g per serving instead of 22g).
5. Can I double the batch?
Yes! Just keep the milk-to-gelatin ratio the same for a consistent texture.
6. What if my pudding doesn’t set?
Add ½ tsp extra gelatin next time or chill longer — humidity can affect setting.
7. Can I flavor it differently each time?
Of course! Keep a plain base and divide it into jars; add different toppings or extracts to each.
📊 Nutritional Breakdown (Per Serving)
| Calories | Protein | Fat | Carbs | Fiber | Net Carbs | Sugar | Sodium |
|---|---|---|---|---|---|---|---|
| 190 kcal | 22 g | 4 g | 6 g | 0 g | 6 g | 3 g | 150 mg |
📌 Recipe Snapshot
Prep Time: 10 minutes
Chill Time: 4–6 hours
Total Time: 10 minutes + chilling
Course: Dessert / Snack
Cuisine: High-Protein, No-Bake
Servings: 2
Calories per Serving: 190
Protein per Serving: 22 g
Healthy desserts don’t need to be complicated. This High-Protein No-Bake Milk Pudding proves that simplicity, flavor, and nutrition can coexist beautifully — all in one creamy, spoonful bite.
High-Protein No-Bake Milk Pudding Recipe
Ingredients
- 1½ cups high-protein milk
- 1 scoop vanilla whey protein
- 1½ tsp gelatin powder
- Optional: flavoring or sweetener
Instructions
- In a small bowl, pour 3 tablespoons of cold milk and sprinkle 1½ teaspoons of gelatin evenly over the surface. Let it sit undisturbed for 5 to 10 minutes. During this time, the gelatin will absorb the milk and swell, forming a thick, gel-like texture known as “blooming.” This step ensures the gelatin dissolves smoothly later without creating lumps in your pudding. Avoid stirring it too early — just let the milk fully hydrate the gelatin granules.
- While the gelatin is blooming, pour 1 cup of high-protein milk (such as Fairlife or any fortified milk) into a small saucepan. Warm it gently over low heat until it’s just hot to the touch — do not let it boil. Boiling milk can break down gelatin and cause the protein powder to curdle later. Once warm, remove the saucepan from the heat and immediately add the bloomed gelatin. Whisk continuously for about 1 to 2 minutes, or until the gelatin has completely dissolved and the milk looks smooth and slightly glossy.
- Once the gelatin has dissolved, whisk in one scoop (25–30 grams) of vanilla whey protein powder. Add the powder gradually while whisking to prevent clumping. If you prefer, you can mix the protein powder with a small amount of milk beforehand to form a smooth slurry before adding it in — this ensures an ultra-smooth, silky pudding texture. Keep whisking until everything is fully combined and no lumps remain. If you’re adding any optional flavors like vanilla extract, cocoa powder, or a touch of sweetener, stir them in now.
- Add the remaining ½ cup of cold milk to the mixture and whisk again. The cold milk helps bring down the temperature quickly so the pudding sets evenly in the fridge later. The final mixture should be smooth, creamy, and slightly frothy at the top — that’s perfectly fine. Taste it now to adjust sweetness if needed.
- Carefully pour the pudding mixture into small glass jars, ramekins, or dessert cups. Use a spoon to skim off any bubbles on top if you want a perfectly smooth finish. Cover each jar tightly with plastic wrap or lids to prevent a skin from forming while chilling.
- Transfer the jars to the refrigerator and let them chill undisturbed for at least 4 hours, or ideally overnight. As the mixture cools, the gelatin will firm up, transforming the liquid into a creamy, custard-like pudding with a soft, wobbly texture.
- Once fully set, remove from the fridge and serve straight from the jar. Top with a dusting of cocoa powder, sugar-free chocolate syrup, or a few fresh berries if you like. Enjoy cold for the best texture and flavor — each spoonful will be silky, light, and perfectly balanced between sweet and protein-rich.