This post may contains Amazon affiliate and other affiliate links. If you make a purchase through these links, I may earn a small commission at no extra cost to you. Your support helps me continue to provide quality content. I only recommend products I personally trust and believe will add value to your experience. For more details, please visit my Privacy Policy.
🟢 Introduction
There are evenings when your body quietly asks for something sweet—but not the kind that leaves you feeling bloated, sluggish, or regretful an hour later. I’ve had those nights more times than I can count. Especially after long, exhausting days where all I wanted was comfort… but my body clearly needed something lighter.
That’s exactly how this anti-inflammatory berry nice cream became one of my absolute favorites.
I remember standing in my kitchen, craving ice cream but also feeling that familiar heaviness from earlier meals. I didn’t want more sugar, more dairy overload, or something that would leave me feeling inflamed the next morning. So I reached for frozen berries, a creamy protein base, and a few simple ingredients—and what came out of the blender honestly surprised me.
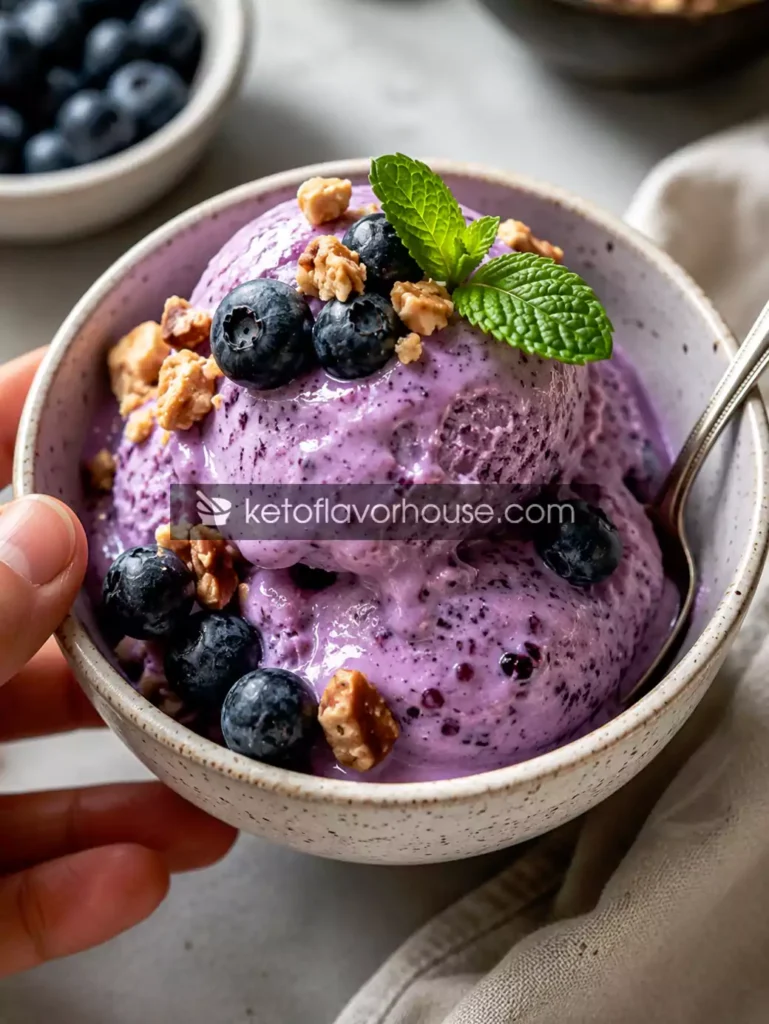
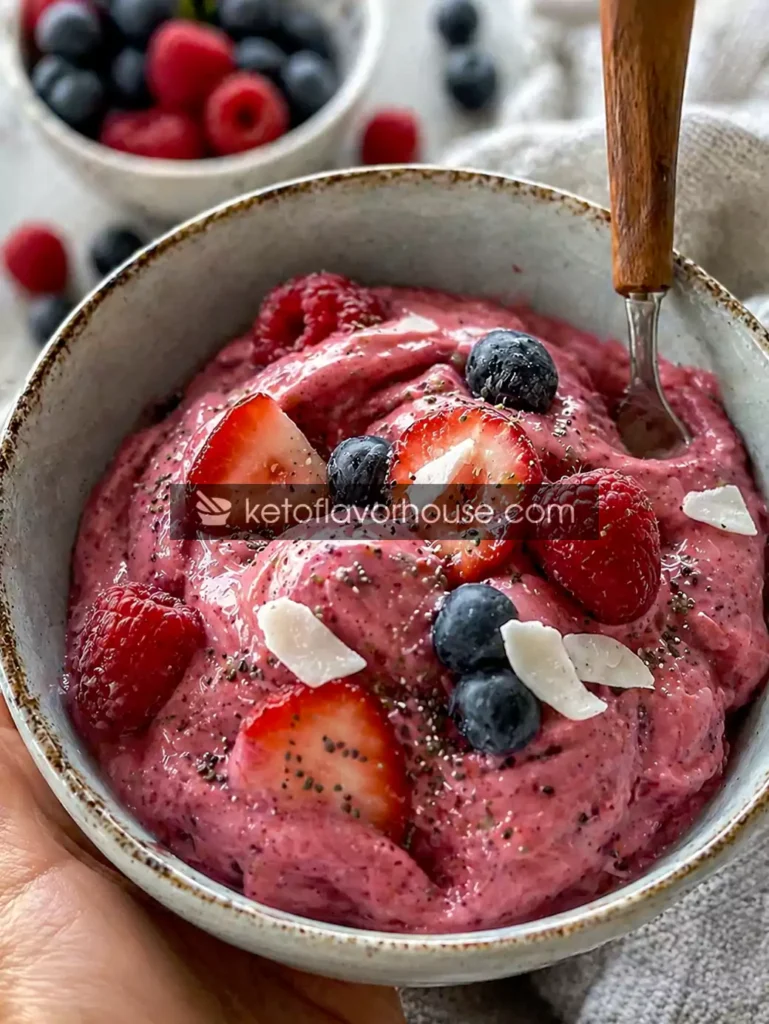
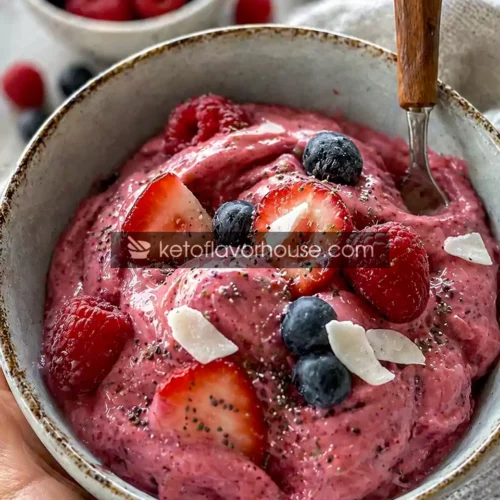
This Anti-Inflammatory Berry Nice Cream (Creamy, Low-Carb & Glow-Boosting Dessert) is everything I was craving: silky, refreshing, naturally sweet, and incredibly satisfying—without the heaviness. It’s designed to support inflammation balance using antioxidant-rich berries, healthy fats, and clean protein, while still staying keto-friendly and high in protein.
If you’ve ever wanted a dessert that feels indulgent and nourishing at the same time, this is the one you’ll keep coming back to.
💚 Why You’ll Love This Recipe
- 🍓 Packed with anti-inflammatory ingredients like berries and healthy fats
- 💪 High-protein option to keep you full and satisfied
- 🍦 Creamy, ice-cream-like texture without heavy cream overload
- ⚡ Quick & easy—ready in minutes with no cooking required
- 🌿 Naturally sweet and refreshing, no refined sugar needed
- 🧘♀️ Light on digestion, perfect after heavy meals
- 🔄 Flexible recipe—easy to adjust for keto, dairy-free, or higher protein
🧠 My Personal Experience
The first time I made this, it wasn’t planned. It was one of those “I just need something sweet” moments—but I also didn’t want to undo a full day of eating well.
After the first spoonful, I noticed something instantly: it felt clean. Not overly rich, not overly sweet—just smooth, balanced, and refreshing.
What surprised me even more was how I felt afterward.
No bloating. No heaviness. No sugar crash.
Just satisfied.
Now, this has become my go-to dessert on days when I feel inflamed, tired, or just need something comforting without going off track. It’s the kind of recipe that quietly supports you without feeling like a “diet food.”
🧰 Required Equipment
🥣 High-Speed Blender or Food Processor
This is essential for achieving that ultra-creamy, ice-cream-like texture. A powerful blender prevents icy chunks and gives a smooth consistency.
🥄 Silicone Spatula
Helps scrape down the sides of the blender so everything blends evenly.
🥶 Freezer-Safe Container
If you want a firmer texture or to store leftovers, this is helpful.
🍨 Serving Bowl or Glass
Aesthetic matters—serving this in a clean, minimal bowl enhances the experience.
🥬 Ingredients & Substitutions
🍓 1½ cups frozen mixed berries (strawberries, blueberries, raspberries)
- Role: Main flavor base
- Benefit: Rich in antioxidants that support inflammation balance
- Substitute: Single berry type or acai blend
🥄 ½ cup Greek yogurt (or cottage cheese for higher protein)
- Role: Creaminess + protein
- Benefit: Supports gut health and satiety
- Substitute: Coconut yogurt (dairy-free)
🥛 ¼ cup unsweetened almond milk
- Role: Helps blending
- Benefit: Low-carb and light
- Substitute: Coconut milk for richer texture
🍯 1–2 tbsp keto-friendly sweetener (erythritol or monk fruit)
- Role: Sweetness
- Benefit: Keeps it low-carb
- Substitute: Stevia or skip entirely if berries are sweet enough
🧄 ½ tsp vanilla extract
- Role: Enhances flavor
- Benefit: Adds warmth and depth
🌿 1 tbsp chia seeds (optional)
- Role: Texture + nutrition
- Benefit: Anti-inflammatory omega-3 support
🥥 1 tbsp coconut cream (optional)
- Role: Extra creaminess
- Benefit: Healthy fats for keto
👩🍳 How to Make Anti-Inflammatory Berry Nice Cream (Creamy, Low-Carb & Glow-Boosting Dessert)
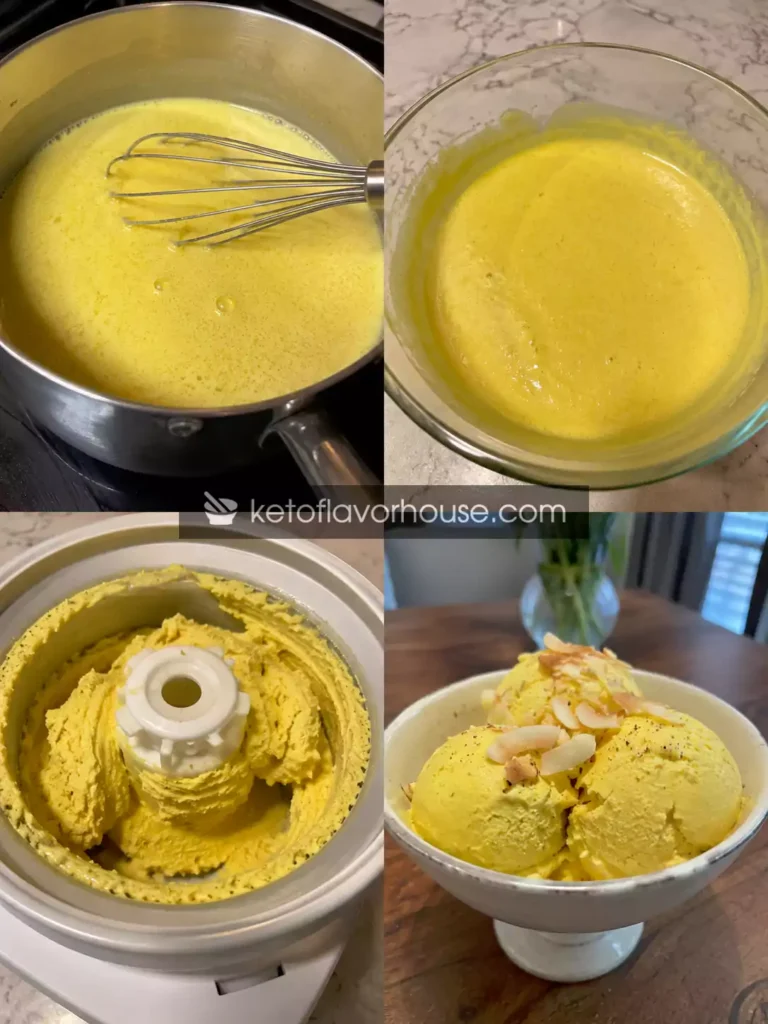
❄️ Step 1: Add Frozen Base
Add frozen berries to the blender first. This helps create a thick, ice-cream-like texture.
🥄 Step 2: Add Creamy Ingredients
Add yogurt (or cottage cheese), almond milk, and coconut cream if using.
👉 Tip: Start with less liquid—you can always add more.
🍯 Step 3: Sweeten & Flavor
Add sweetener and vanilla extract. Adjust based on taste preference.
🔄 Step 4: Blend Slowly
Blend in pulses first, then continuously until smooth.
👉 Stop and scrape sides if needed.
🧊 Step 5: Adjust Texture
If too thick → add a splash of milk
If too soft → freeze for 15–20 minutes
🍨 Step 6: Serve Immediately
Serve soft-serve style or freeze slightly for scoopable texture.
⚠️ Common Mistakes to Avoid
- ❌ Adding too much liquid → becomes smoothie
✔️ Fix: Add gradually - ❌ Using overly sweet berries
✔️ Fix: Balance with yogurt - ❌ Skipping protein source
✔️ Fix: Add yogurt or protein powder - ❌ Using low-quality frozen fruit
✔️ Fix: Choose clean, unsweetened berries
🔥 Pro Tips for Best Results
- Use partially thawed berries for easier blending
- Add a pinch of turmeric + black pepper for anti-inflammatory boost (very subtle)
- Blend in short bursts to maintain thick texture
- Freeze for 10 minutes before serving for perfect consistency
🧬 Anti-Inflammatory Benefits of Berries
Berries are one of the most powerful ingredients you can include in an anti-inflammatory lifestyle.
They’re naturally rich in antioxidants like anthocyanins, which help the body manage oxidative stress. They also support digestion and provide fiber without overwhelming your carb intake when used in moderation.
For keto-friendly eating, berries are one of the few fruits that fit well due to their relatively lower sugar content compared to others.
🌿 Variations You Can Try
- 🥥 Dairy-Free Version: Use coconut yogurt
- 💪 High-Protein Boost: Add vanilla protein powder
- 🍫 Chocolate Twist: Add cocoa powder
- 🥜 Nutty Flavor: Add almond or peanut butter
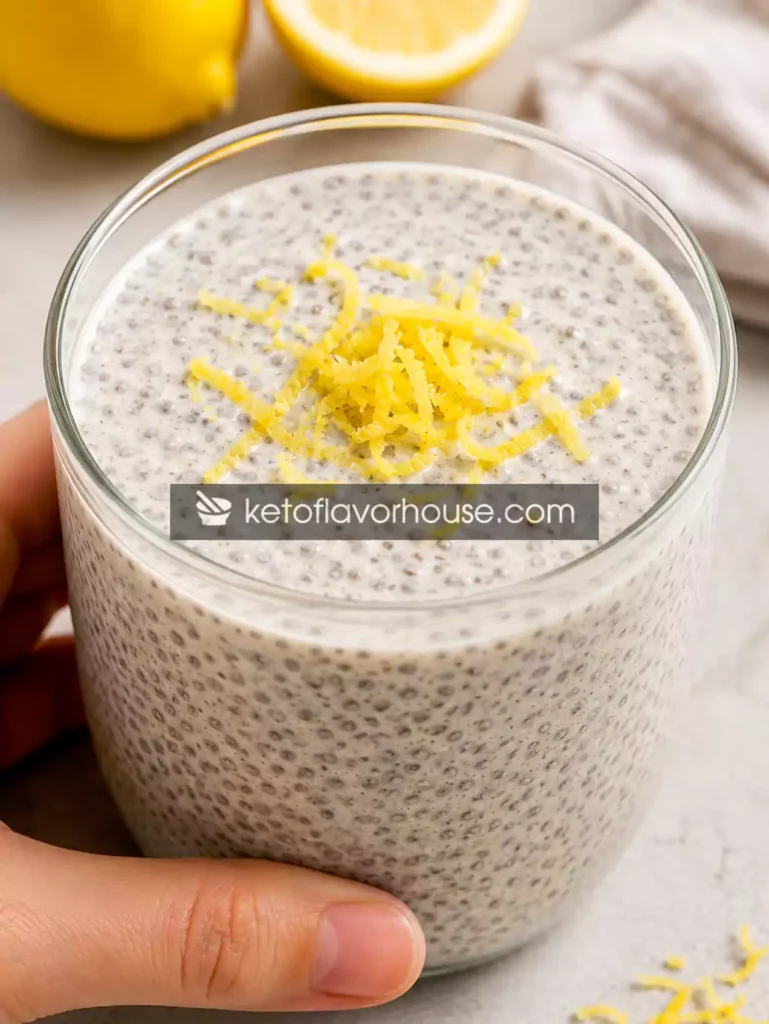
- 🍋 Citrus Freshness: Add lemon zest
🍽️ Tips for This Recipe
- Keep ingredients cold for best texture
- Blend just enough—over-blending melts it
- Taste and adjust sweetness before serving
➕ Optional Additions
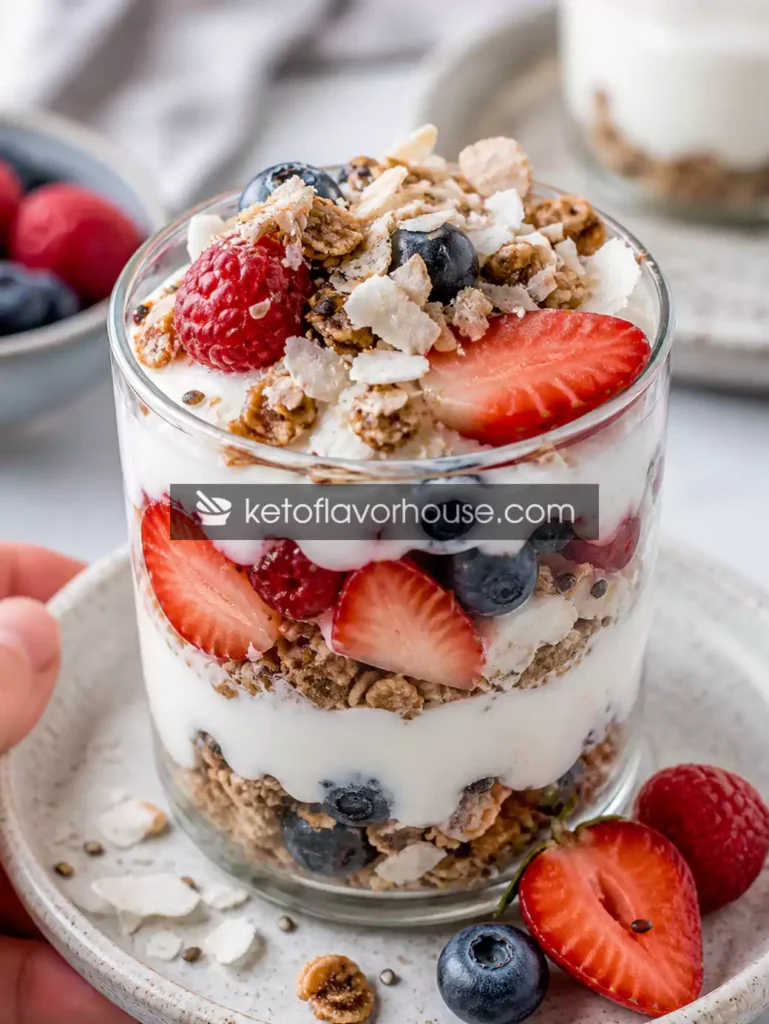
- Coconut flakes
- Crushed nuts
- Sugar-free chocolate chips
- Fresh mint leaves
🍴 Serving Ideas
- As a refreshing dessert after dinner
- Post-workout snack
- Afternoon sweet craving fix
- Meal prep treat stored in freezer
🧊 Storage Recommendations
- Fridge: Not ideal (melts)
- Freezer: Up to 2 weeks
- Reheat: Let sit 5–10 minutes before serving
❓ Frequently Asked Questions
Can I make it dairy-free?
Yes, use coconut or almond-based yogurt.
Can I freeze it?
Yes, store in airtight container.
Is it keto-friendly?
Yes, when using low-carb sweeteners and portion control.
Can I use fresh berries?
Yes, but freeze them first.
How to make it thicker?
Use less liquid or freeze longer.
Is it good for meal prep?
Yes, but best texture is fresh.
🧮 Nutritional Breakdown (Per Serving)
- Calories: 180
- Protein: 12g
- Fat: 9g
- Total Carbs: 12g
- Net Carbs: 7g
📌 Recipe Snapshot
- Prep Time: 5 minutes
- Cook Time: 0 minutes
- Total Time: 5 minutes
- Course: Dessert
- Cuisine: Healthy / Keto
- Servings: 2
- Calories: 180
Anti-Inflammatory Berry Nice Cream Recipe
Ingredients
- 1½ cups frozen berries
- ½ cup Greek yogurt
- ¼ cup almond milk
- 1 –2 tbsp sweetener
- ½ tsp vanilla extract
- 1 tbsp chia seeds
- 1 tbsp coconut cream
Instructions
- Add the frozen berries to a high-speed blender or food processor first. This helps create that thick, ice-cream-like texture. If your blender struggles, let the berries sit at room temperature for 2–3 minutes to slightly soften—this makes blending easier without turning the mixture watery.
- Add the Greek yogurt (or cottage cheese), almond milk, and coconut cream on top of the berries. Start with the smaller amount of liquid—you can always add more later, but too much at the beginning will make it more like a smoothie instead of nice cream.
- Add your preferred keto-friendly sweetener along with the vanilla extract. If your berries are naturally sweet, start with less sweetener and adjust later to avoid overpowering the fresh berry flavor.
- Begin blending in short bursts (pulse mode) instead of continuous blending. This helps break down the frozen berries gradually and prevents overheating the mixture, which can melt it too quickly.
- Stop the blender and use a spatula to scrape down the sides as needed. This ensures all ingredients are evenly incorporated and prevents chunks from being left unblended.
- Continue blending until the mixture becomes smooth, thick, and creamy. If it’s too thick or the blades are struggling, add a small splash of almond milk (1–2 tablespoons at a time) and blend again until you reach a soft-serve consistency.
- Taste the mixture once smooth and adjust sweetness if needed. You can add a little more sweetener or even a squeeze of lemon juice to brighten the flavor if it tastes too flat.
- For a soft-serve texture, serve immediately straight from the blender. If you prefer a firmer, scoopable consistency, transfer it to a freezer-safe container and freeze for about 15–20 minutes.
- Scoop the nice cream into serving bowls using a spoon or ice cream scoop. For a more premium presentation, slightly wet the scoop for smooth, rounded servings.
- Add optional toppings like chia seeds, crushed nuts, coconut flakes, or sugar-free chocolate chips for extra texture and flavor. Serve fresh for the best creamy consistency and enjoy immediately.