This post may contains Amazon affiliate and other affiliate links. If you make a purchase through these links, I may earn a small commission at no extra cost to you. Your support helps me continue to provide quality content. I only recommend products I personally trust and believe will add value to your experience. For more details, please visit my Privacy Policy.
Introduction
There are days when your body just feels… off. You wake up a little bloated, your energy feels low, and no matter what you eat, you still feel heavy. I’ve had those days more times than I can count—especially after a stretch of busy work, irregular meals, or just eating too many “quick” foods that didn’t really nourish me.
That’s exactly where this anti-inflammatory high-protein chicken salad came into my life.
The first time I made this Anti-Inflammatory High-Protein Chicken Salad (Healthy, Weight Loss Friendly), I wasn’t looking for anything fancy. I just wanted something clean, light, and satisfying—something that wouldn’t leave me feeling sluggish an hour later. What I ended up with was a bowl that felt like a reset: fresh, vibrant, protein-packed, and surprisingly comforting.
This recipe supports anti-inflammatory eating by focusing on whole, clean ingredients—lean protein, healthy fats, fresh vegetables, and simple seasonings that don’t overwhelm your system. It’s the kind of meal that feels balanced, not restrictive. Nourishing, not heavy.
If you’re someone who:
- Feels bloated after meals
- Wants a clean, high-protein option
- Is trying to eat lighter without sacrificing flavor
- Needs a reliable meal prep option
This is going to become one of your go-to recipes.
💚 Why You’ll Love This Recipe
- 🥬 Anti-inflammatory ingredients – Fresh herbs, olive oil, and clean protein help support a balanced eating approach
- ⚡ Supports digestion and energy – Light yet satisfying, without that post-meal crash
- 🍽️ Satisfying and balanced – High protein keeps you full while healthy fats add richness
- 👩🍳 Easy to make – Simple ingredients, minimal prep, and quick assembly
- 🧡 Flavor, texture, and comfort – Creamy, crunchy, fresh, and deeply satisfying
🧠 My Personal Experience
I remember making this after a particularly heavy weekend of eating out. My body just felt… inflamed. Not in a dramatic way, but in that subtle, uncomfortable way where nothing feels quite right.
I kept it simple—grilled chicken, fresh greens, olive oil, a touch of lemon, and herbs. After eating it, I noticed something small but important: I didn’t feel bloated. I didn’t feel sleepy. I actually felt… good.
Over the next few days, I kept coming back to it. Each time, I felt lighter, more energized, and surprisingly satisfied. It didn’t feel like “diet food”—it felt like real food that my body appreciated.
🧰 Required Equipment
🔪 Sharp Knife
You’ll need a sharp knife to dice the chicken and chop vegetables evenly. Clean cuts help maintain texture and presentation.
🥣 Mixing Bowl
A large bowl allows you to combine everything evenly without crushing delicate ingredients like herbs or greens.
🍳 Pan or Grill Pan
Used to cook the chicken. A grill pan adds flavor, but a regular pan works perfectly too.
🥄 Measuring Spoons & Cups
Important for balancing flavors—especially with olive oil, lemon juice, and spices.
🥬 Ingredients & Substitutions
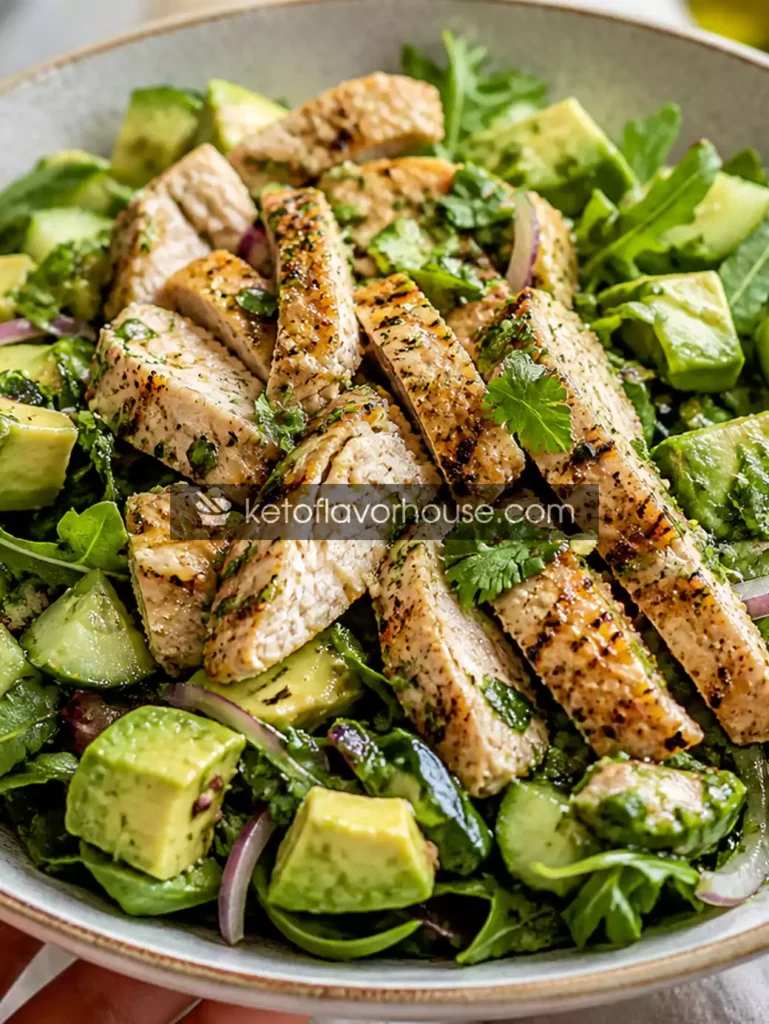
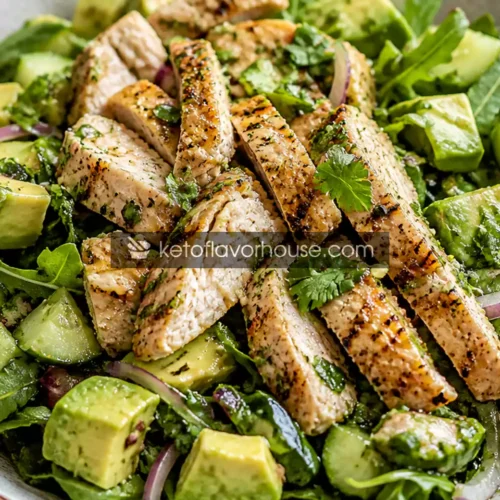
🍗 Chicken Breast – 2 cups cooked (about 2 medium breasts)
- Role: Main protein source
- Benefit: Lean, high-protein, supports satiety
- Substitute: Chicken thighs (juicier, slightly higher fat)
🥬 Mixed Greens – 2 cups
- Role: Base of the salad
- Benefit: Light, fiber-rich, refreshing
- Substitute: Spinach or arugula (peppery flavor boost)
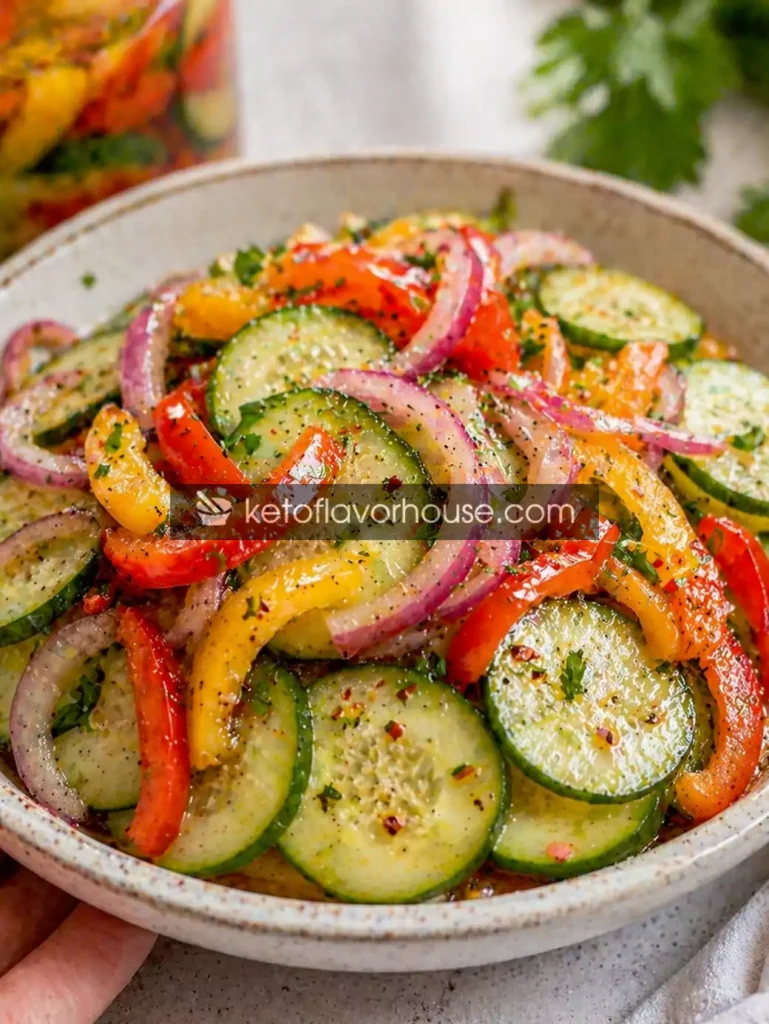
🥒 Cucumber – 1 cup, diced
- Role: Adds crunch and hydration
- Benefit: Cooling and refreshing
- Substitute: Zucchini (slightly firmer texture)
🥑 Avocado – 1 medium, diced
- Role: Creaminess and healthy fats
- Benefit: Supports satiety and smooth texture
- Substitute: Greek yogurt (for creamy dressing alternative)
🧄 Garlic – 2 cloves, minced
- Role: Flavor depth
- Benefit: Known for anti-inflammatory support
- Substitute: Garlic powder (½ tsp)
🍋 Lemon Juice – 2 tbsp
- Role: Brightness and acidity
- Benefit: Helps balance flavors and freshness
- Substitute: Apple cider vinegar
🫒 Olive Oil – 3 tbsp
- Role: Dressing base
- Benefit: Healthy fat, supports balanced eating
- Substitute: Avocado oil
🌿 Fresh Parsley – 2 tbsp, chopped
- Role: Fresh herbal note
- Benefit: Adds lightness and flavor
- Substitute: Cilantro
🧂 Salt & Pepper – to taste
- Enhances all flavors
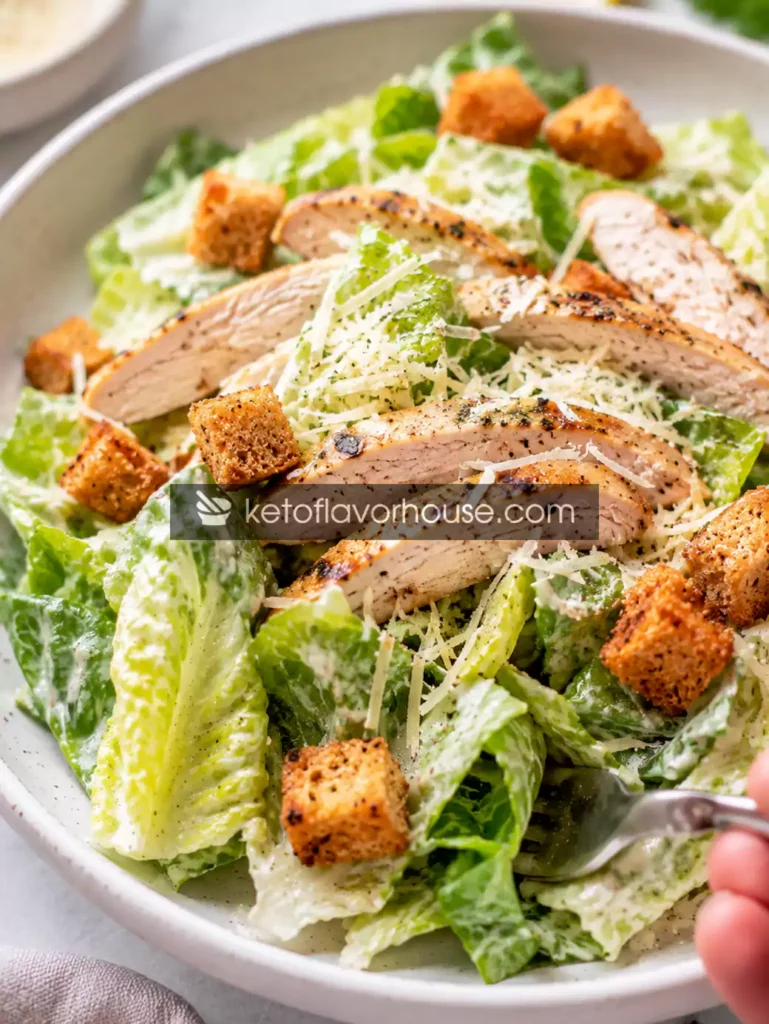
👩🍳 How to Make Anti-Inflammatory High-Protein Chicken Salad (Healthy, Weight Loss Friendly)
Step 1: Prepare the Chicken
Cook the chicken breast in a pan with a little olive oil until fully done. Avoid overcooking—it can dry out the chicken and reduce tenderness.
Tip: Let it rest before slicing to keep juices inside.
Step 2: Chop the Ingredients
Dice cucumber, avocado, and herbs. Try to keep sizes consistent for even texture.
Tip: Cut avocado last to prevent browning.
Step 3: Make the Dressing
In a small bowl, mix olive oil, lemon juice, garlic, salt, and pepper.
Tip: Taste and adjust acidity—this dressing should feel fresh, not sharp.
Step 4: Assemble the Salad
In a large bowl, combine greens, chicken, and vegetables.
Step 5: Toss and Serve
Pour dressing over the salad and gently toss.
Tip: Don’t overdress—add gradually to maintain texture.
⚠️ Common Mistakes to Avoid
- Overcooking chicken → Dry texture
✔ Fix: Cook until just done and let rest - Using processed dressings → Adds unnecessary heaviness
✔ Fix: Stick to simple olive oil + lemon - Skipping healthy fats → Less satisfying
✔ Fix: Always include avocado or olive oil - Too many ingredients → Overcomplicates flavor
✔ Fix: Keep it simple and balanced
🔥 Pro Tips for Best Results
- Add grated ginger for extra freshness
- Sprinkle turmeric for a subtle earthy boost
- Use fresh garlic, not bottled
- Let salad sit for 5 minutes before serving for flavor absorption
🧬 Anti-Inflammatory Benefits of Chicken
Chicken, especially lean cuts like breast, is an excellent source of high-quality protein. It helps support muscle repair, keeps you full longer, and pairs well with anti-inflammatory ingredients.
When combined with olive oil, herbs, and fresh vegetables, it becomes part of a balanced, clean eating approach that supports overall well-being.
🌿 Variations You Can Try
- Dairy-Free: Already dairy-free
- Higher Protein: Add boiled eggs or extra chicken
- Spicy Version: Add chili flakes
- Creamy Version: Mix in Greek yogurt
🍽️ Tips for This Recipe
- Always use fresh ingredients
- Chill slightly before serving for better flavor
- Don’t overdress—keep it light
➕ Optional Additions
- Chia seeds
- Flax seeds
- Fresh dill
- Pumpkin seeds
🍴 Serving Ideas
- As a main lunch bowl
- Wrapped in lettuce for a low-carb wrap
- Paired with roasted vegetables
- Perfect for meal prep
🧊 Storage Recommendations
- Fridge: Up to 2 days
- Freezer: Not recommended
- Tip: Store dressing separately if prepping ahead
❓ Frequently Asked Questions
1. Can I use leftover chicken?
Yes, it works perfectly.
2. Is this good for weight loss?
It’s high-protein and balanced, making it a great option.
3. Can I make it ahead?
Yes, but add dressing just before serving.
4. What’s the best oil to use?
Olive oil is ideal for flavor and balance.
5. Can I make it spicy?
Absolutely—add chili flakes or fresh chili.
🧮 Nutritional Breakdown (Per Serving)
- Calories: 420
- Protein: 38g
- Fat: 24g
- Total Carbs: 8g
- Net Carbs: 6g
📌 Recipe Snapshot
- Prep Time: 15 minutes
- Cook Time: 15 minutes
- Total Time: 30 minutes
- Course: Main
- Cuisine: Healthy / Clean Eating
- Servings: 2
- Calories: 420
Anti-Inflammatory High-Protein Chicken Salad Recipe
Ingredients
- Chicken breast – 2 cups cooked
- Mixed greens – 2 cups
- Cucumber – 1 cup
- Avocado – 1 medium
- Garlic – 2 cloves
- Lemon juice – 2 tbsp
- Olive oil – 3 tbsp
- Parsley – 2 tbsp
- Salt & pepper
Instructions
- Start by placing your chicken breast on a clean surface and lightly pat it dry with paper towels. This helps it cook evenly and develop a better texture. Heat a pan over medium heat and add a small drizzle of olive oil. Place the chicken in the pan and cook for about 5–7 minutes on each side, depending on thickness, until it’s fully cooked through (no pink in the center). Avoid overcooking, as this can make the chicken dry and tough. Once done, transfer it to a plate and let it rest for at least 5 minutes—this step is important because it allows the juices to redistribute, keeping the chicken tender and juicy. After resting, slice or dice it into bite-sized pieces.
- While the chicken is resting, prepare your fresh ingredients. Wash the cucumber and cut it into small, even cubes for a consistent crunch in every bite. Slice the avocado in half, remove the pit, and gently scoop out the flesh before dicing it into chunks—try not to mash it so it keeps its creamy texture. Finely chop fresh parsley to release its flavor and aroma. Keeping all your ingredients similar in size helps the salad feel balanced and well-composed.
- In a small mixing bowl, prepare the dressing. Add olive oil and freshly squeezed lemon juice, then mix in the minced garlic, a pinch of salt, and freshly ground black pepper. Whisk everything together until it slightly emulsifies and looks smooth. Taste the dressing and adjust if needed—add a little more lemon juice for brightness or a pinch more salt to enhance flavor. The dressing should taste fresh and light, not overpowering.
- Take a large mixing bowl and add your base of mixed greens. Then layer in the cooked chicken pieces, diced cucumber, avocado, and chopped parsley. Try to distribute everything evenly so every serving gets a bit of each ingredient. This step is where the salad starts to come together visually and texturally.
- Slowly drizzle the prepared dressing over the salad. Don’t pour it all at once—start with a little, then gently toss the salad using clean hands or salad tongs. This prevents overdressing and keeps the ingredients from becoming soggy. Toss just enough to lightly coat everything while maintaining the fresh texture of the greens and the shape of the avocado.
- Serve the salad immediately for the freshest taste and best texture. If you prefer it slightly chilled, you can place it in the refrigerator for about 10–15 minutes before serving. This allows the flavors to meld together nicely while keeping everything crisp and refreshing.