This post may contains Amazon affiliate and other affiliate links. If you make a purchase through these links, I may earn a small commission at no extra cost to you. Your support helps me continue to provide quality content. I only recommend products I personally trust and believe will add value to your experience. For more details, please visit my Privacy Policy.
Introduction
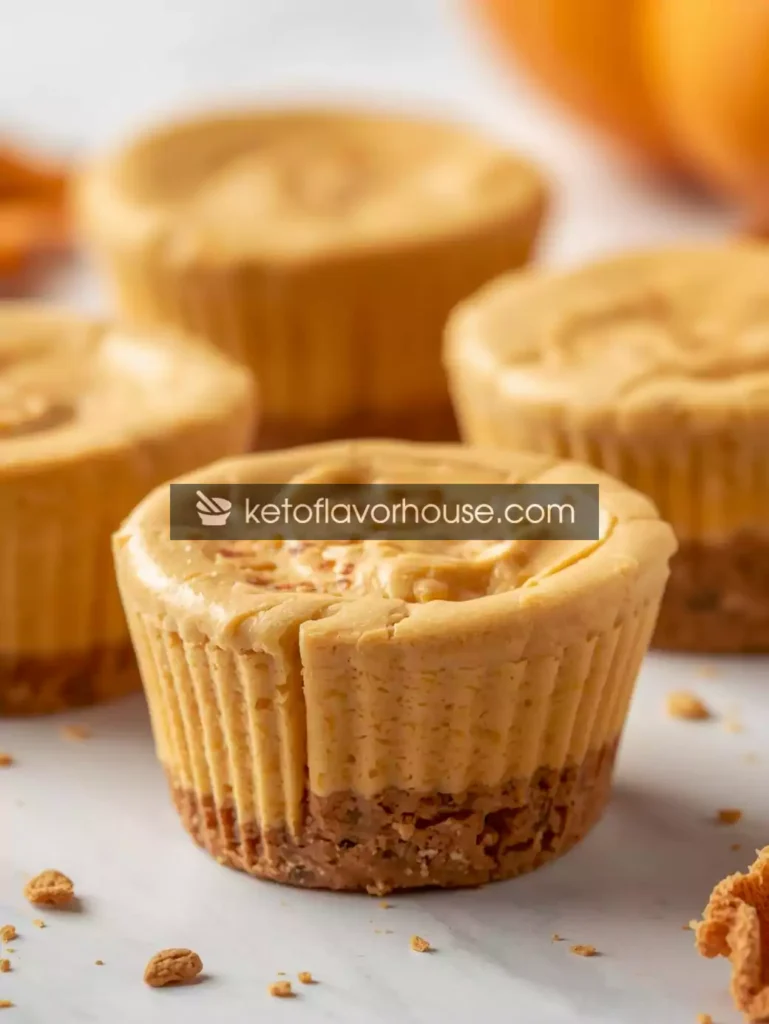
There are days after bariatric surgery when cravings sneak up on you — the kind of cravings that make you miss a creamy dessert but also remind you that you need to stay mindful of sugar, carbs, and portion size. That’s exactly when my Bariatric Protein Pumpkin Cheesecake Cups (Low-Carb & High-Protein Dessert) come to the rescue.
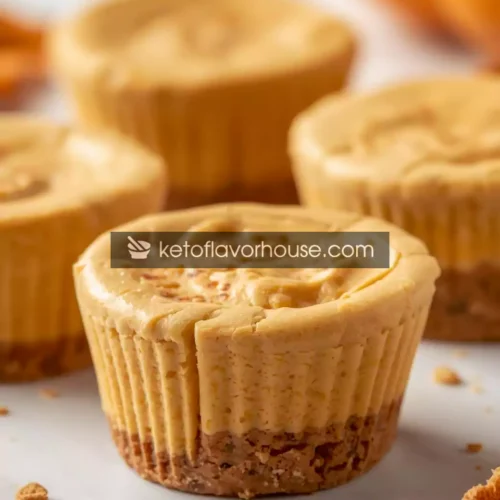
The first time I made these cups, I remember pulling the tray from the fridge, the silky orange filling glistening like a pumpkin pie dream in mini form. I couldn’t believe how rich and indulgent they tasted while staying completely in line with bariatric guidelines. For me, they’ve become more than just dessert — they’re a guilt-free treat that feels festive and cozy without sending blood sugar on a rollercoaster.
This recipe is perfect for bariatric eaters because it’s portion-controlled, protein-packed, and naturally low in carbs. You get the comfort of pumpkin pie, the creaminess of cheesecake, and the staying power of protein — all wrapped up in a handheld serving. Whether you’re newly post-op and looking for a soft-textured sweet, or you’re further along and just want a lighter dessert that won’t derail your plan, these cheesecake cups hit the mark.
And the best part? They’re easy enough to whip up on a weeknight but impressive enough to serve at a holiday gathering. That balance between everyday simplicity and celebration-worthy presentation is what makes this recipe truly special.
Why You’ll Love This Recipe
✨ High in protein and low in carbs — perfectly bariatric-friendly.
🎃 Tastes like pumpkin pie meets creamy cheesecake.
⏱ Quick prep — comes together in under 30 minutes.
🥄 Portion-controlled for easy serving and mindful eating.
👨👩👧 Family-friendly — everyone will love these cups, not just bariatric eaters.
My Personal Experience
When I was early in my bariatric journey, I often found myself at family gatherings staring at the dessert table, torn between nostalgia and my new lifestyle. Pumpkin pie was always my weakness, especially during autumn. I still remember one Thanksgiving, sitting with my plate of turkey and green beans, trying to ignore the smell of cinnamon and nutmeg drifting from the dessert spread.
That night inspired me to start experimenting with ways to recreate my favorite flavors in a form my body could handle. The first version of these cheesecake cups was a little too soft — more like pumpkin pudding. But over time, I learned the balance: more protein, less sugar, and a touch of ricotta for structure. When I finally nailed it, I felt a sense of freedom.
For bariatric eaters, having these kinds of recipes matters. They’re not just about curbing cravings; they’re about feeling included in traditions and enjoying food without fear. These cups gave me a way to have dessert again — not just as a treat, but as part of a lifestyle that’s sustainable long-term.
Required Equipment
Mixing Bowls
You’ll need a couple of mixing bowls: one for the wet ingredients and one for the dry. Keeping them separate helps you blend flavors evenly before combining.
Electric Hand Mixer (or Whisk)
A hand mixer makes the cheesecake base silky smooth, ensuring no clumps of cream cheese remain. If you don’t have one, a sturdy whisk and some elbow grease will do the trick.
Measuring Cups & Spoons
Precision matters with bariatric baking. Too much sweetener or protein powder can affect both taste and texture. Use proper measuring tools instead of eyeballing.
Muffin Pan + Silicone Liners
The muffin pan gives you perfectly portioned cups. Silicone liners are best because they peel off cleanly, but paper liners also work if sprayed lightly with oil.
Spatula
A flexible spatula helps scrape down the sides of your bowl so every bit of creamy pumpkin filling gets used.
Ingredients & Substitutions
- 1 cup pumpkin puree (unsweetened) – Adds fiber, vitamins A and C, and that classic fall flavor.
Substitution: roasted butternut squash puree works if pumpkin isn’t available. - 1/2 cup low-fat ricotta cheese – Lightens the texture while boosting protein.
Substitution: cottage cheese (blended smooth) is another bariatric-friendly option. - 4 oz reduced-fat cream cheese, softened – Provides that rich cheesecake base without overloading on fat.
Substitution: Greek yogurt cream cheese spread for a lighter option. - 1 scoop unflavored or vanilla protein powder – Essential for bariatric diets to hit protein goals.
Substitution: any whey isolate or plant-based protein works, but avoid ones with added sugar. - 1 large egg – Binds the mixture and adds additional protein.
Substitution: flax egg if you’re avoiding eggs, but texture may be softer. - 1/4 cup granular sugar substitute (erythritol, monk fruit, or stevia blend) – Sweetens without spiking blood sugar.
Substitution: adjust based on sweetness preference. - 1 tsp vanilla extract – Adds warmth and depth.
Substitution: almond extract for a nutty variation. - 1 tsp cinnamon + 1/4 tsp nutmeg + 1/4 tsp ginger – Classic pumpkin spice combo for cozy flavor.
Substitution: pre-mixed pumpkin pie spice if you prefer convenience. - Pinch of salt – Enhances all the flavors.
How to Make Bariatric Protein Pumpkin Cheesecake Cups
Step 1: Prep Your Pan
Line a muffin pan with silicone or paper liners. Preheat oven to 325°F (165°C).
Step 2: Blend Wet Ingredients
In a mixing bowl, combine pumpkin puree, ricotta, and softened cream cheese. Beat until smooth.
Tip: Make sure your cream cheese is fully softened; otherwise, you’ll end up with small lumps.
Step 3: Add Egg, Protein & Sweetener
Mix in the egg, protein powder, sugar substitute, and vanilla extract. Whisk until silky.
Mini Tip: Don’t overmix — you want everything smooth but not airy.
Step 4: Spice It Up
Fold in cinnamon, nutmeg, ginger, and a pinch of salt. The spices should perfume the batter without overpowering it.
Step 5: Fill Cups
Spoon the mixture evenly into prepared liners, filling about 3/4 full.
Step 6: Bake
Bake at 325°F for 18–22 minutes, until the edges are set but the centers still jiggle slightly.
Tip: Don’t worry if the centers look soft — they firm up as they chill.
Step 7: Chill & Serve
Cool completely, then refrigerate at least 2 hours before serving. The chilling process allows flavors to meld and texture to firm up into cheesecake-like perfection.
Air Fryer Variation: Use ramekins, cook at 300°F for 12–15 minutes, and check often.
Common Mistakes to Avoid
- Overbaking: Leads to dry, rubbery cups. Remove while still slightly jiggly.
- Skipping chill time: Warm cups won’t set properly — patience pays off!
- Over-sweetening: Bariatric taste buds can be sensitive. Start light and adjust.
- Overmixing: Too much air in the batter can cause cracks.
Pro Tips for Best Results
- Use room-temperature cream cheese for silky texture.
- Always chill before serving — flavor deepens after refrigeration.
- For holiday flair, top with a dollop of sugar-free whipped cream.
- Make ahead — they keep well, making them perfect for meal prep.
Bariatric Nutrition & Strategy
Pumpkin provides fiber that supports digestion and satiety, while ricotta, cream cheese, and protein powder ensure each cup delivers a protein boost. Unlike traditional pumpkin desserts loaded with sugar, this recipe aligns with bariatric goals by balancing sweetness with protein and healthy fats.
Enjoy one cup as a snack, or pair with a protein shake for a complete mini-meal. These cheesecake cups are especially helpful for getting protein in when you’re craving something soft and sweet.
Variations You Can Try
- Chocolate Pumpkin Cups: Add 1 tbsp cocoa powder for a mocha twist.
- Maple Spice Cups: Use maple extract instead of vanilla.
- Crunchy Topping: Sprinkle crushed nuts on top (watch portion size for bariatric needs).
Tips for This Recipe
- Always let them chill — the flavor transforms.
- Use silicone liners for easy release.
- Batch cook and freeze for quick desserts on busy weeks.
Optional Additions
- Sugar-free caramel drizzle (sparingly).
- Protein granola crumble for extra texture.
- A sprinkle of pumpkin seeds for crunch.
Serving Ideas
- As a holiday dessert alternative to pumpkin pie.
- For meal prep — enjoy one cup as a snack.
- As a post-workout treat paired with tea or coffee.
Storage Recommendations
- Fridge: Store in airtight container for up to 5 days.
- Freezer: Wrap individually and freeze for up to 2 months. Thaw overnight in the fridge.
- Reheat: Best enjoyed chilled, but can be microwaved 10–15 seconds if preferred warm.
Frequently Asked Questions (FAQ)
1. Can I freeze these cheesecake cups?
Yes! Wrap individually and freeze up to 2 months. Thaw overnight for best texture.
2. Can I use Greek yogurt instead of ricotta?
Yes, but the texture will be tangier and slightly looser.
3. Why is this good for bariatric diets?
It’s portion-controlled, protein-rich, low-carb, and easy to digest.
4. Can I make this in an air fryer?
Yes! Bake in ramekins at 300°F for about 12–15 minutes.
5. Can I skip the protein powder?
You can, but you’ll miss out on extra protein. The texture may also be softer.
6. How do I know when they’re done?
They should be set on the edges but jiggle slightly in the middle.
7. Can I use flavored protein powder?
Absolutely — vanilla or pumpkin spice protein powder works beautifully.
Nutritional Breakdown (Per Serving, makes 8 cups)
- Calories: 110
- Protein: 9g
- Fat: 5g
- Total Carbs: 7g
- Fiber: 2g
- Net Carbs: 5g
- Sugar: 2g
- Sodium: 140mg
Recipe Snapshot
- Prep Time: 10 minutes
- Cook Time: 20 minutes
- Total Time: 30 minutes + chill time
- Course: Dessert / Snack
- Cuisine: Bariatric, Low-Carb
- Servings: 8 cups
- Calories (per serving): 110
Bariatric Protein Pumpkin Cheesecake Cups (Low-Carb & High-Protein Dessert) Recipe
Ingredients
- 1 cup pumpkin puree
- 1/2 cup ricotta cheese
- 4 oz cream cheese
- 1 scoop protein powder
- 1 egg
- 1/4 cup sweetener
- 1 tsp vanilla
- Cinnamon nutmeg, ginger, salt
Instructions
- Preheat oven to 325°F. Line muffin pan with liners.
- Blend pumpkin, ricotta, and cream cheese until smooth.
- Add egg, protein powder, sweetener, and vanilla. Mix well.
- Stir in spices and salt.
- Divide into cups, filling 3/4 full.
- Bake 18–22 minutes until edges set.
- Chill 2+ hours before serving.